


Make A Decorative box Using Two Bath Trays

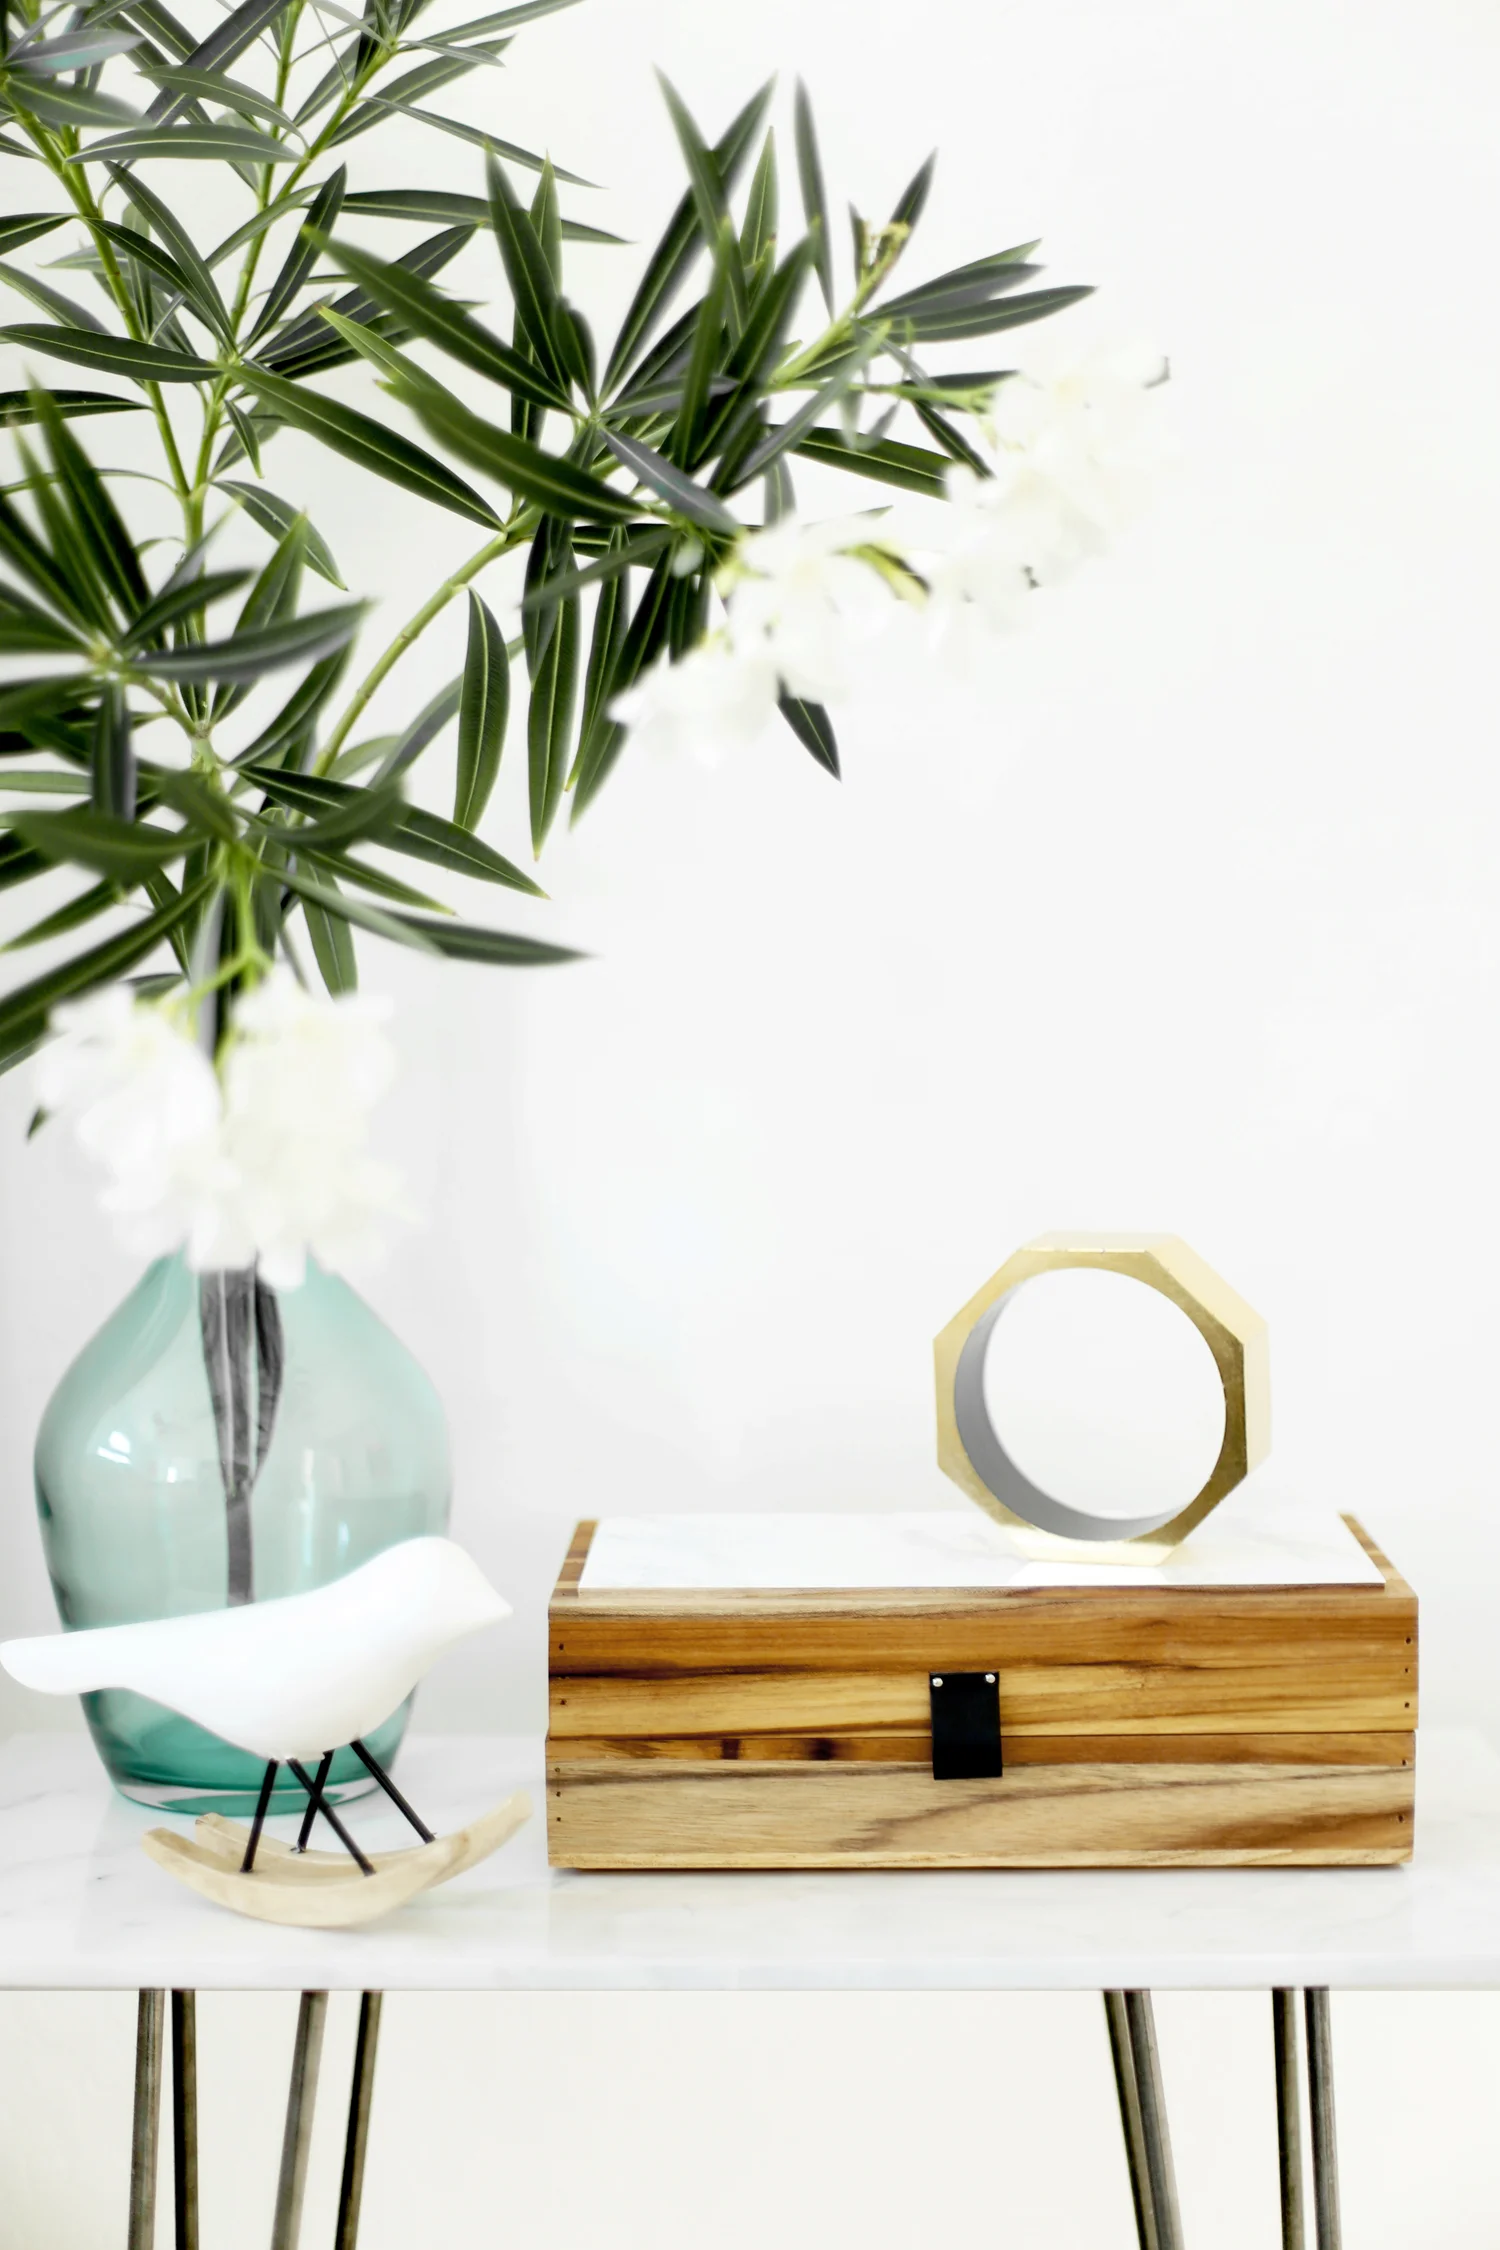
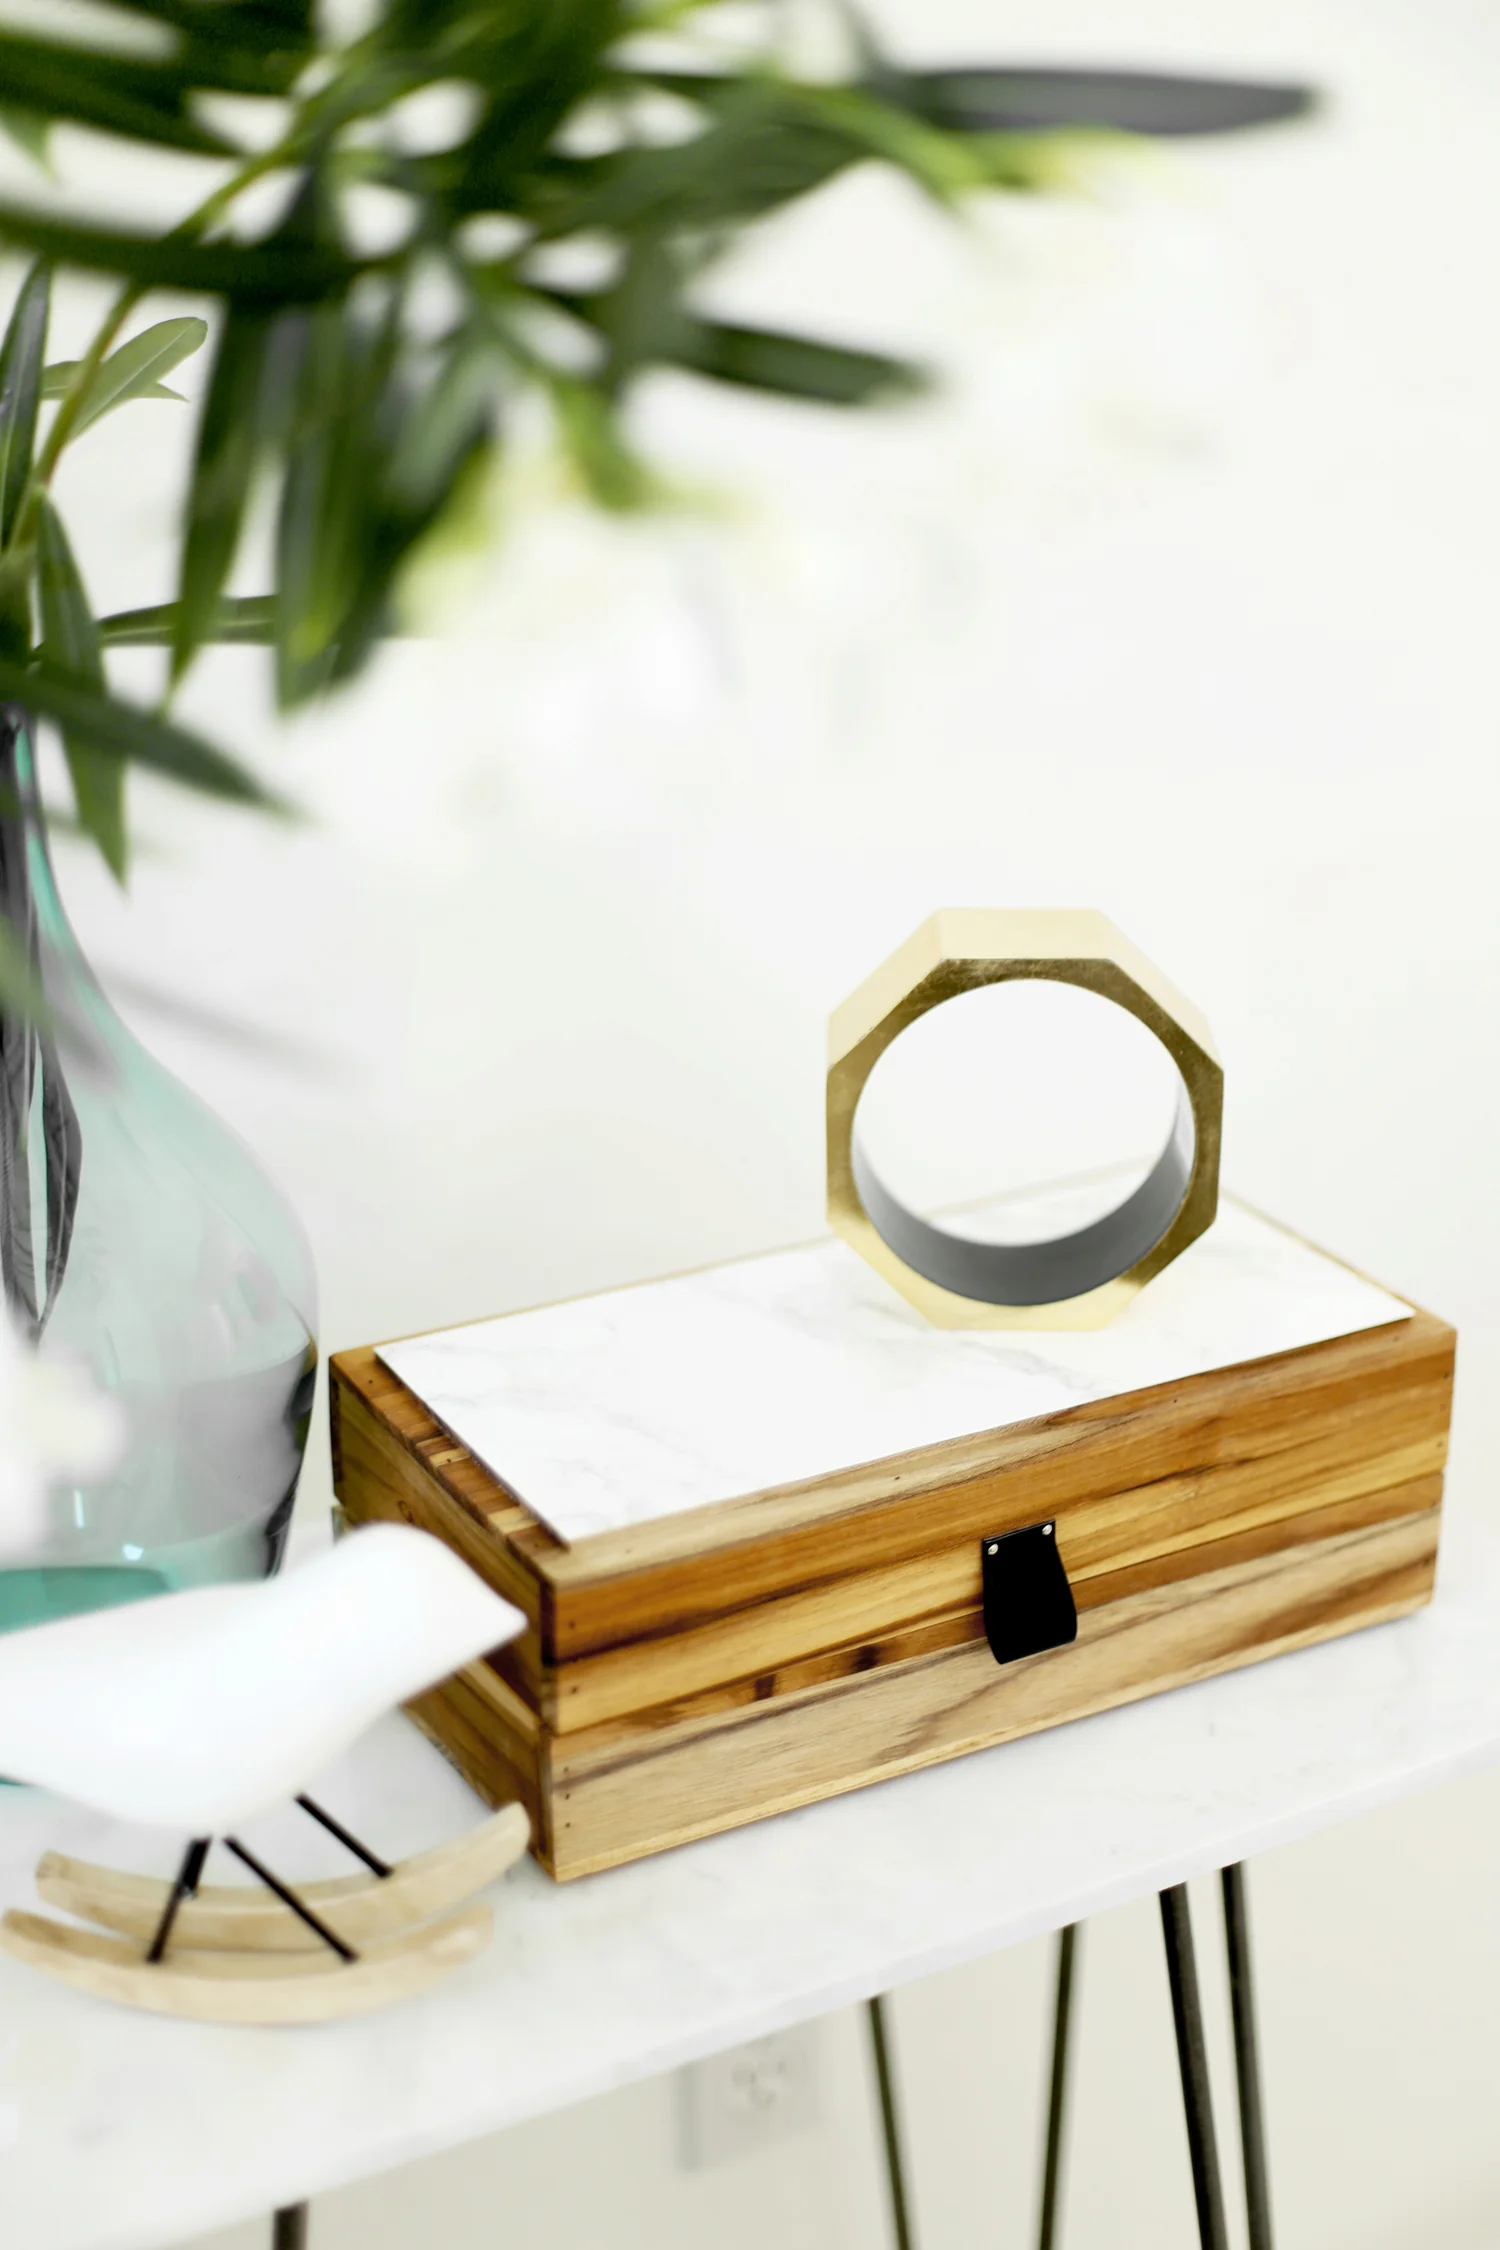
I had the worst time trying to find a decorative box that was deep enough to fit remote controls and the other conveniences we like to keep close. So I decided a DIY decorative box was in store. I made this marble and wood box with "leather" pulls using two trays and some scraps I had lying around the house.

I am so pleased with how it looks sitting on my DIY marble nightstands. Better yet, it fits all of our stuff!

Here is my step-by-step for how to make a decorative box using two bathroom trays.


2 bath trays
8" jewelry box stop hinge with screws
drill
very small drill bit (smaller than diameter of hinge screws)
leather or pleather straps (I used straps from a $1 Target tote)
small nails (not longer than the thickness of your tray frame)
hammer
marble contact paper (optional)

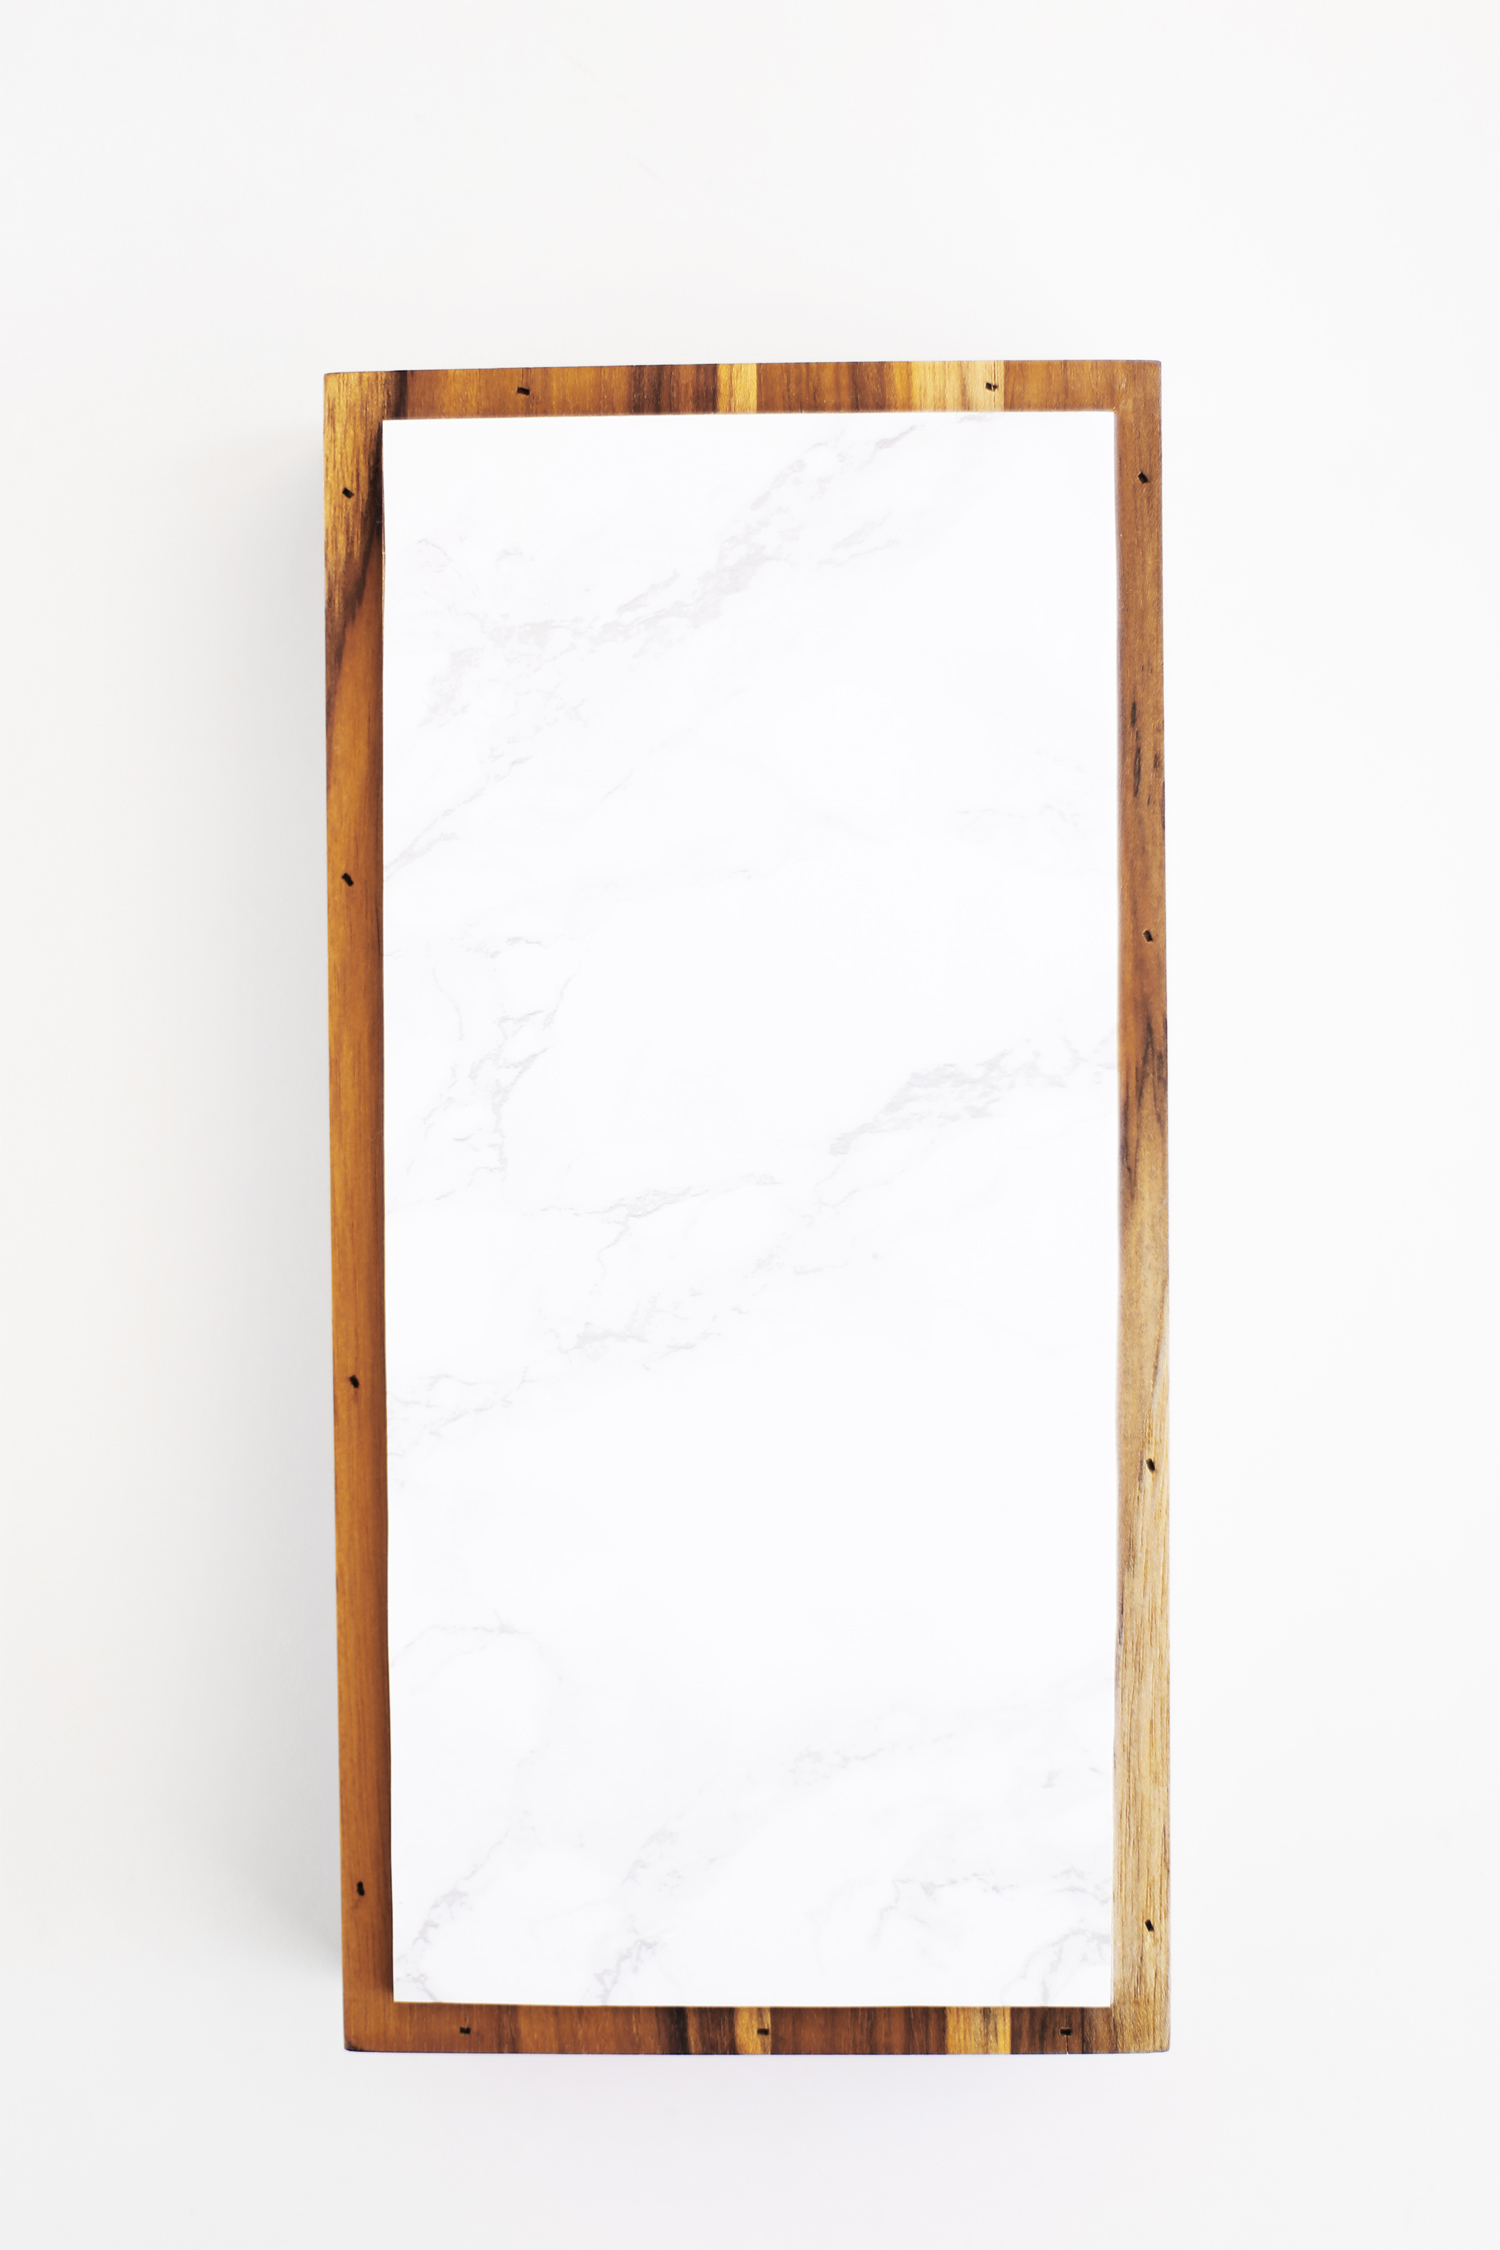
This DIY decorative box "how to" is super simple. This first step is optional. First, flip your tray over. Next, measure your contact paper to the size of the top rectangle on the tray. Cut + stick to the top of the tray.

The next step for this DIY box is to attach the pull. I had some leftover pleather straps from a Target dollar section tote that I used for a dollar store DIY. I cut a piece of one of these straps to about 2-3 inches in length. You could use the leather straps from anything you have lying around the house or anything you can find at the dollar section at Target or your local dollar store. Additionally you can find leather or pleather straps at Michael's, JoAnn's, Hobby Lobby, etc. Once you have the strap cut, fold it in half. Use your small nails and hammer to attach the loose ends to the top tray, making a loop.

The next step for this DIY decorative wood box is to attach the hinge. Start by placing the hinge where you want it. Mark the holes with a pencil. Starting with one of the end holes and using your drill and drill bit, drill a very small hole where you want the first screw to go. Screw in your first screw. Line the hinge up again where you want it, and drill a small hole that lines up with the hinge hole on the opposite end. Screw a screw into this hole. Repeat the same process, for the two inner hinge holes. And then attach the other side of the hinge to the top tray using this process. And voila! You are done!
I love a marble contact paper DIY. I'm sure you already knew that if you caught the marble and wood blocks tutorial I posted yesterday.

In case you are interested, here is another favorite marble DIY you can do with your leftover marble contact paper. Even better, it's an IKEA hack! I hope you enjoyed this tutorial on how to make a decorative box. Do you ever have this issue of not being able to find a chic decorative box deep enough to fit your remotes and everything you want? Or am I the only weirdo? Let me know in the comments below.
If you find this post helpful, I would love it if you subscribe below! Subscribers get an exclusive DIY every week and a free party printable collection just for signing up!


