


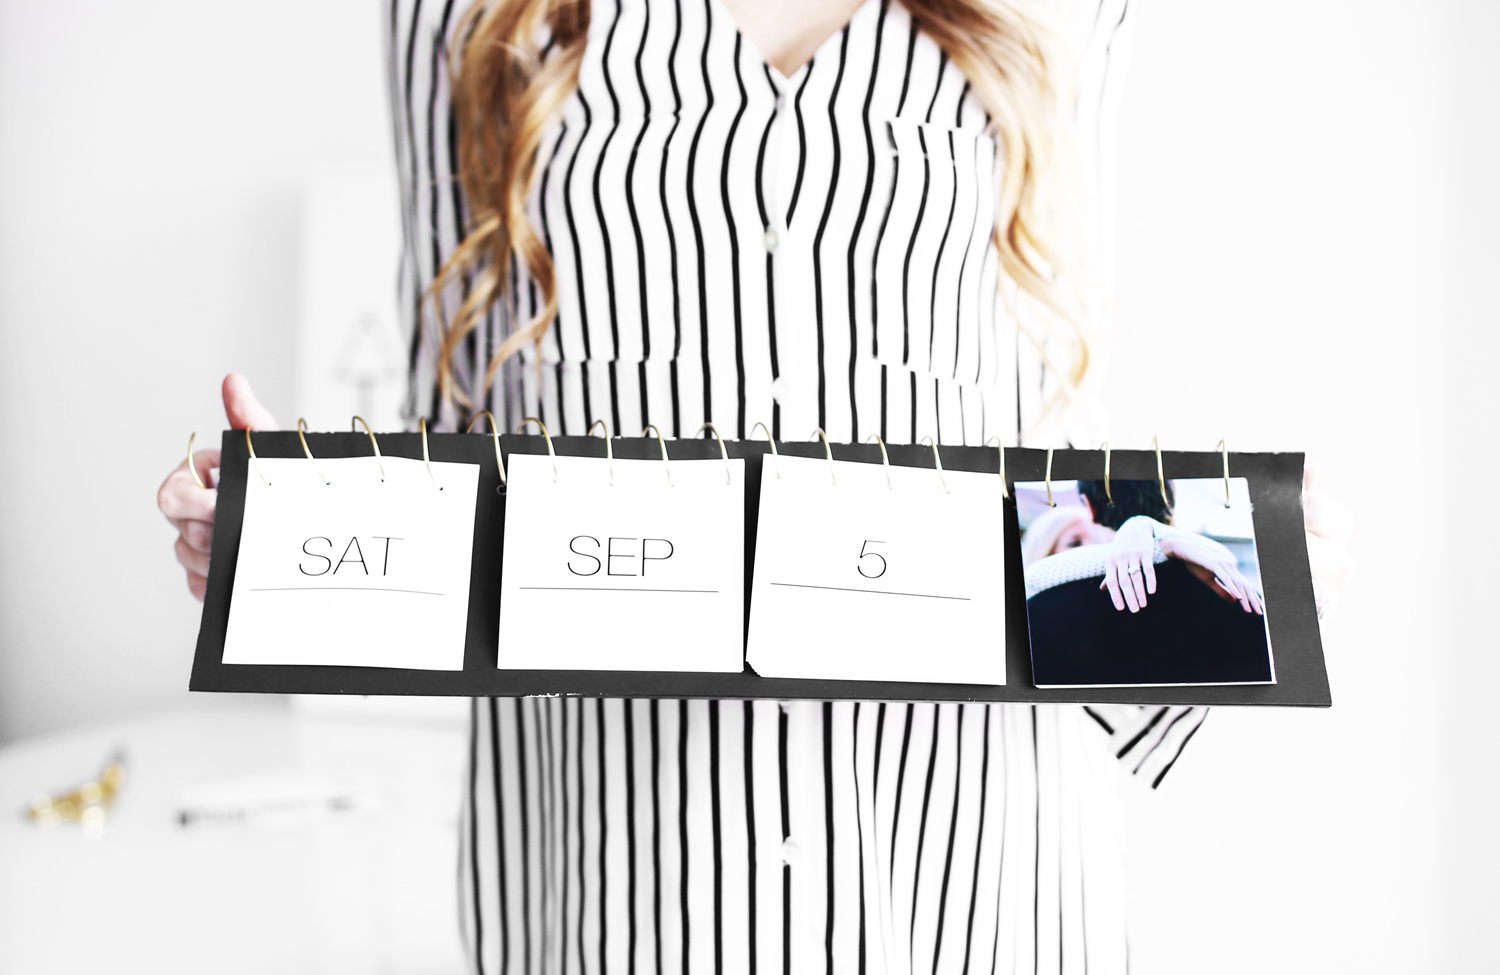
Turn Your Instagram Photos Into A Flip Calendar


Even though January is long gone, I'm still trying to get organized. One fun idea I had for my office is this DIY Instagram calendar. It's super simple to do, and it makes keeping your schedule fun. If you are interested, here is another DIY calendar I did.

I did this DIY calendar in black and white, but you can pick any colors you want. Something bright would be fun for summer.
The calendar tutorial below has nine steps, but they are super simple steps. It won't take you long at all to make.


printed Instagram photos (you can use Walgreens to print instagram photos)
printable flip calendar templates
scissors
ruler
black poster board
glue
pencil
wire
hole punch
scoring tool (or a knife and ruler)
tape


Step 1: Print your Instagram photos. I printed mine using the Instagram photo printing option through Walgreens - photo.walgreens.com. I used the Instagram photo print option which prints them to size 4” x 4.”

Step 2: Print + cut out the flip calendar templates. It is easiest to upload these to Walgreen’s as well. Print them just like the Instagram photos.

Step 3: Measure + cut your poster board to 19” x 18.”

Step 4: On the 18” side, score your poster board every 5” using a scoring tool or a knife and ruler. You will have 3” leftover. *If you are using a knife and ruler to score, simply hold the ruler where you want your score line to be, and run the backside of the knife alongside the ruler. When you fold, you will fold the flaps down.

Step 5: With the first flap folded over, punch holes 1” apart and 1” from the fold line. A small hole punch (just bigger than your wire) is best, but a regular hole punch will work fine.
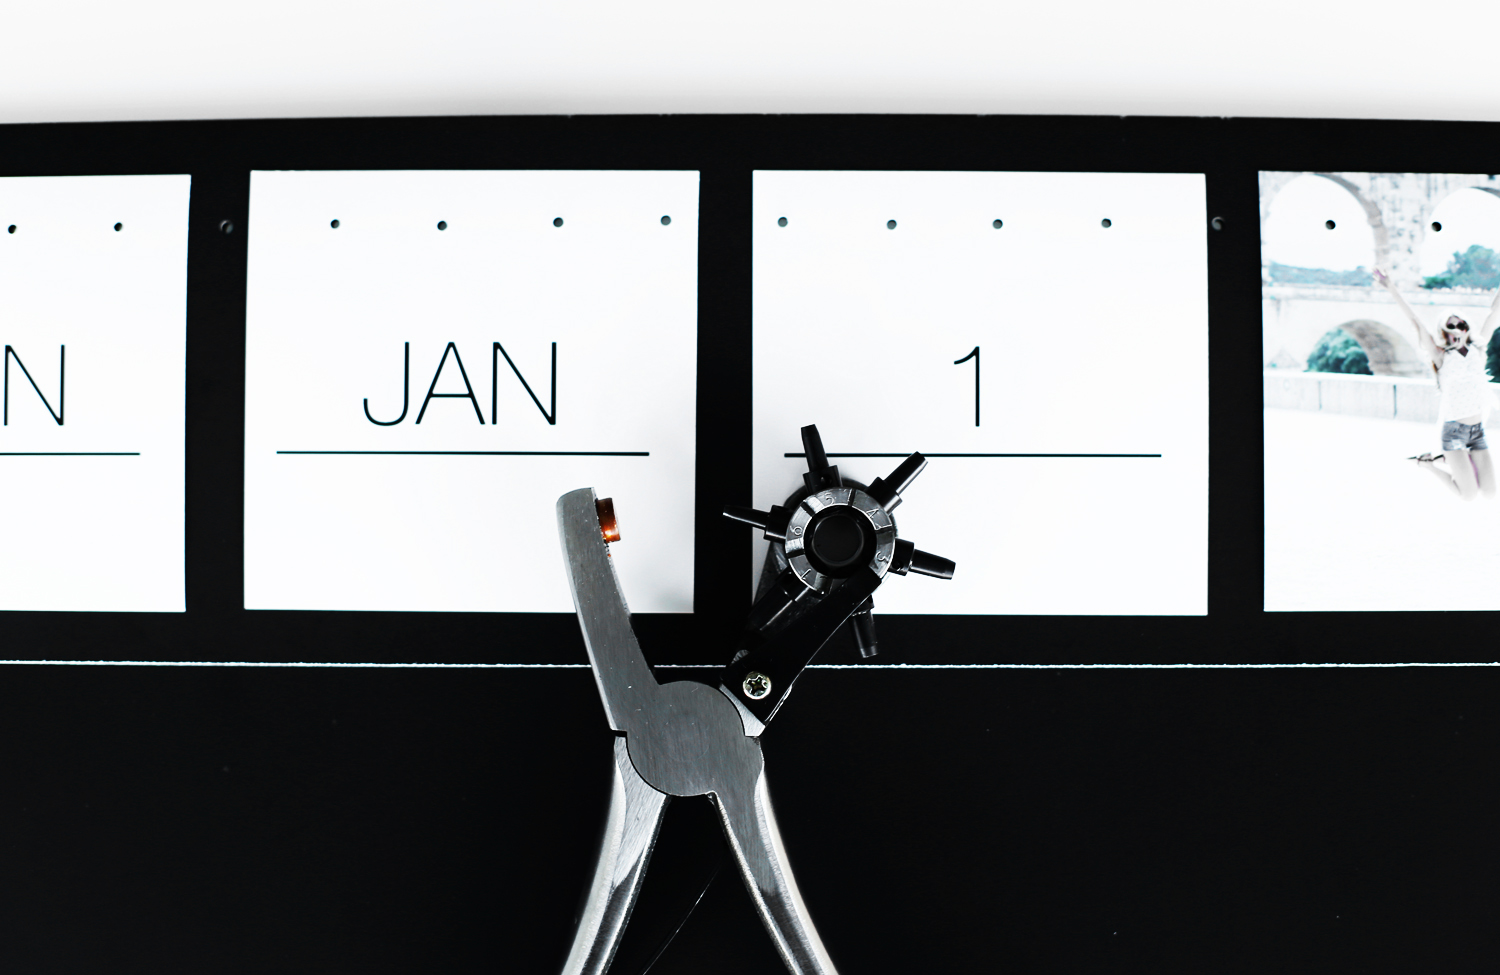
Step 6: Line up your dates + photos onto the folded flap where you want them. Tape them on, and then flip the poster board over. Punch holes in the cards where the holes in your poster board are. Use these photos as a guide of where to punch holes in the rest of the dates and photos.

Step 7: Wrap your wire around a round item that is about 1 ½” in diameter making sure the ends are curved (you can use pliers here if need be).

Step 8: Starting at one end, insert your wire into the first hole. Twist your wire and guide it through the rest of the holes.

Step 9: Fold your poster board into a triangle shape. Secure it by gluing the 3” flap inside the triangle.

And now you have a chic DIY desk calendar! How easy was that? To make it even more fun, I suggest thinking about how you might match up dates with photos. For example, I put in a photo of my dad and me during our Father Daughter dance at my wedding to display on Father’s Day this year. I also included a photo from our engagement session for the date 9/5 because that is the day we got engaged! And of course our wedding day for 3/29.
If you find this post helpful, I would love it if you subscribe below! Subscribers get an exclusive DIY every week and a free party printable collection just for signing up!


