Do A Favor For The Mommy-To-Be


These DIY baby shower favors make me want to squeal. I can't get enough of these diaper cuties. The best part is, I made a template for ya, so you can whip them up in about five minutes. Let's do it.


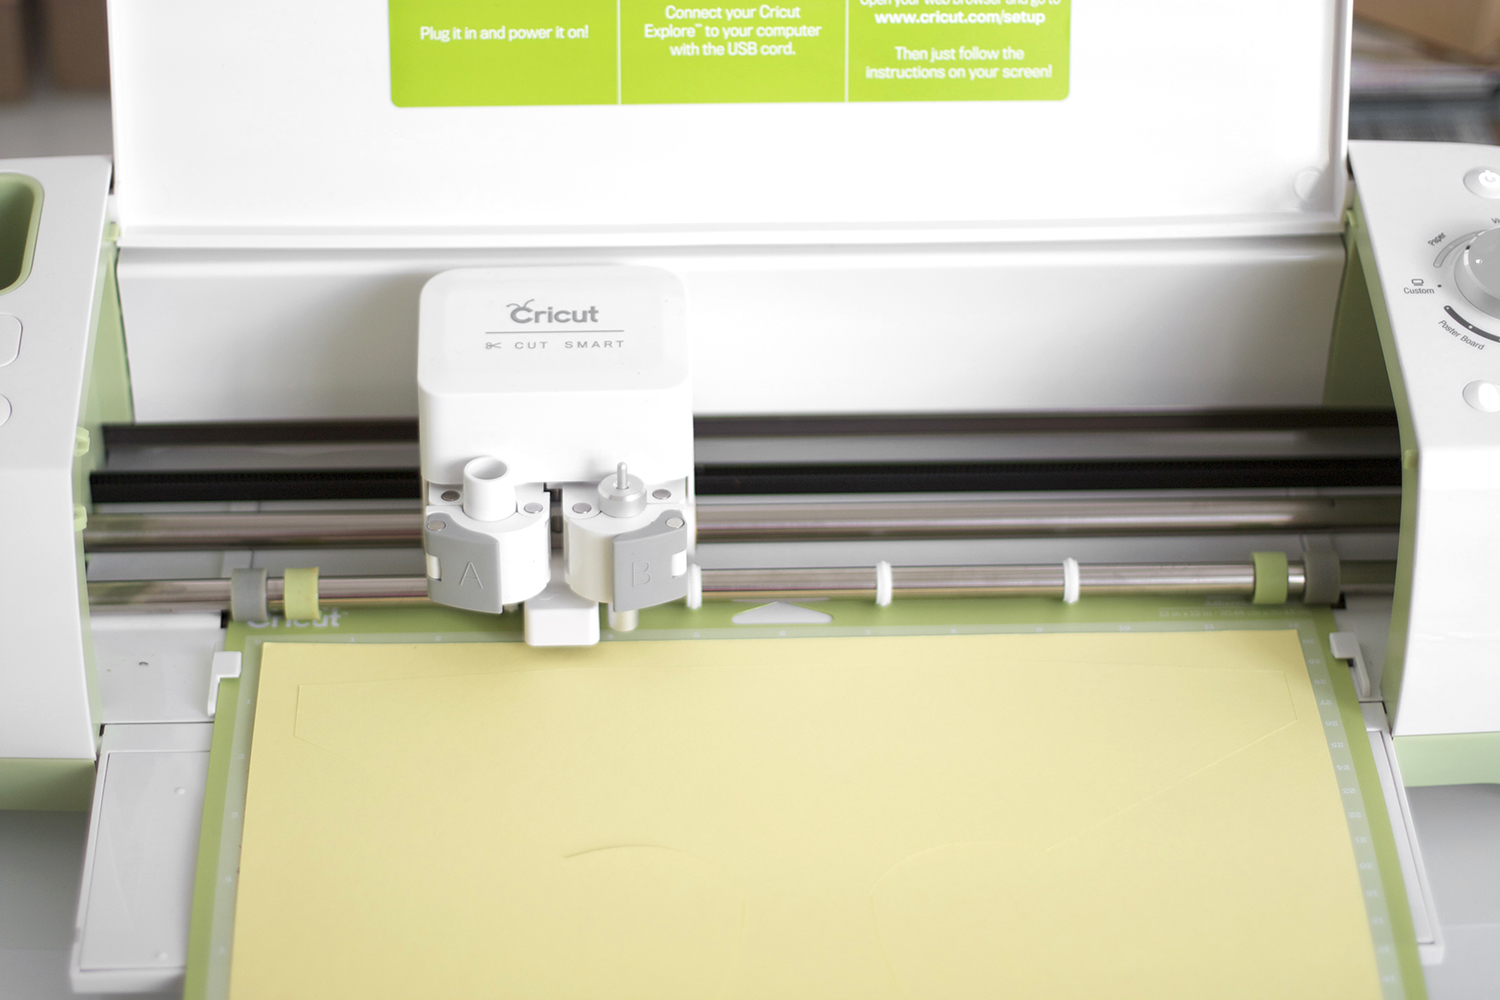
Cricut Explore
Cricut Template 1
Cricut Template 2
Cricut Template 3
Cut By Hand Template
8.5" x 11" pretty paper or card stock
glue stick
clear sealable candy bags
safety pin
yellow shimmer gum balls or candy of choice
Cricut Explore scoring tool or a regular scoring tool (I have this scoring tool, and I love it!)
scissors (I have these, and I'm obsessed!)
ribbon

USING YOUR CRICUT EXPLORE
There are two ways to do this step in Cricut. I used B, but A is simpler!
(A) Use the Cricut Marker for the Text - Upload the Cricut Template 1 into Design Space. Erase the white space around the image. Insert this image into your Design Space workspace. Resize this template so the black images span from the 1/4" mark to the 10 3/4" mark from left to right. If you are using the scoring tool within Design Space, add scoring lines to the right, left, and bottom flaps where you will fold. Cut the template onto your card stock/paper of choice. If you did not score the document within Design Space, hand score the document now. Next, upload the Cricut Template 2 into Design Space. Erase the white space around the image. Insert this image into your Design Space workspace. Resize the inside template so the black shapes span from the 2.5" mark to the 9" mark. Use the text tool in Design Space to create your text on top of the circle. The text you see is called Bombshell Pro. Cut the template and print the text using your Cricut Explore.
(B) Print the Text Using Your Printer - Using a printer, print Cricut Template 3 onto your desired card stock or paper. Upload this printed sheet of paper into your Cricut Explore. Upload the Cricut Template 2 into Design Space. Erase the white space around the shapes. Insert this image into your Design Space workspace. Resize the images so they span from the 2 1/2" mark to the 9" mark from left to right. The circle should span from the 3" to the 4" mark from top to bottom. Cut this template. Next, upload the Cricut Template 1 into Design Space. Erase the white space around the image. Insert this image into your Design Space workspace. Resize this template so the black images span from the 1/4" mark to the 10 3/4" mark from left to right. If you are using the scoring tool within Design Space, add scoring lines to the right, left, and bottom flaps where you will fold. Cut the template onto your card stock/paper of choice. If you did not score the document within Design Space, hand score the document now.
BY HAND
If you do not have a Cricut, here is how to do this step by hand:
Print Cut By Hand Template. Cut out each piece. Score and fold along the score lines.

Glue the circle tag to the flower shape.

Fold up the bottom flap. Then fold the side flaps in. Secure with glue.

Tie a bow with your ribbon, and then glue the bow to the top center of your diaper shape.

Insert the safety pin into the thank you tag.

Insert the safety pin into the loop of the bow, and close.

Insert the insert into the diaper shape.

Staple the closure to the candy bags. Aaaaaand you are done.

This is a sponsored post. Kristi Murphy has received product and/or payment in exchange for promoting. However, all opinions expressed are my own. Thank you for supporting my blog!

This is my second set of projects for Cricut, and I couldn't be happier to be working with the ladies below. Check out all of our projects this week!

To see these amazing projects, click on the links below:

If you like this post, check out my gender reveal idea. And here are some more baby shower ideas. One more thing ...

Enter the Cricut-I Made It! Contest Because It’s Time to Make It Big
Cricut has just announced the Cricut - I Made It! contest and they’re awarding one winner their own Make it Now™ project line to be sold in Cricut Design Space™!
To help create your line, Cricut will fly you to their headquarters in Salt Lake City to work side-by-side with their design team. Then you and a guest will enjoy an all-expense paid stay at the Grand America Hotel – a luxury resort in Salt Lake City, home to the best skiing in the world.
The winner will be featured on Cricut.com and every time a Cricut user purchases your project, you’ll earn money. Cha-ching! Cricut will even help with your publicity.
Cricut has also partnered with The Design Network - a premier online design channel – to showcase the Cricut- I Made It! winner this fall. You’ll get a spotlight feature on a network dedicated to celebrating great designers and their creative star power.
Cricut’s judges, including DIY Diva Alison Deyette and two creative directors from Cricut, will pick 50 finalists from the best project entries based on creativity, use of materials and technique. Who will pick the ultimate winner? You, the public, will vote online in October.
To enter the Cricut - I Made It! contest, all you need is a photo of an original project. You can upload up to five photos (which can be five individual projects or multiple photos of one project).
You have until September 30th to enter on cricut.com.
P.S. If you find this post helpful, I would love it if you subscribe below! Subscribers get an exclusive DIY every week and a free party printable collection just for signing up!