


Pinspired DIY Painted Concrete Patio

This is a sponsored post and was done in partnership with ScotchBlue™ Brand. Kristi Murphy has received product, trade, and/or payment in exchange for promoting; however all opinions are her own. All other products selected for use in this project were selected by Kristi Murphy.

Diamond patterns are all over Pinterest. But it’s hard to find instructions on how to actually make those patterns. So the folks from ScotchBlue™ Painter’s Tape from 3M came to me and asked if I’d help "reverse engineer” one of those pins, and make diamonds easy to recreate at home. I was all about it because as you know, I like any excuse to make updates to my house.

Photo Credit: Tria Giovan of Tria Giovan Photography
I was granted permission by the owner and by ScotchBlue™ Brand to share the original image that inspired my project.
I was inspired by the Diamond Pattern Patio Floor pin above. How cool does that look? The look of my home is modern, so I put a modern twist on this diamond pattern floor.
Before

I didn't realize how awful our patio looked until I took these photos.
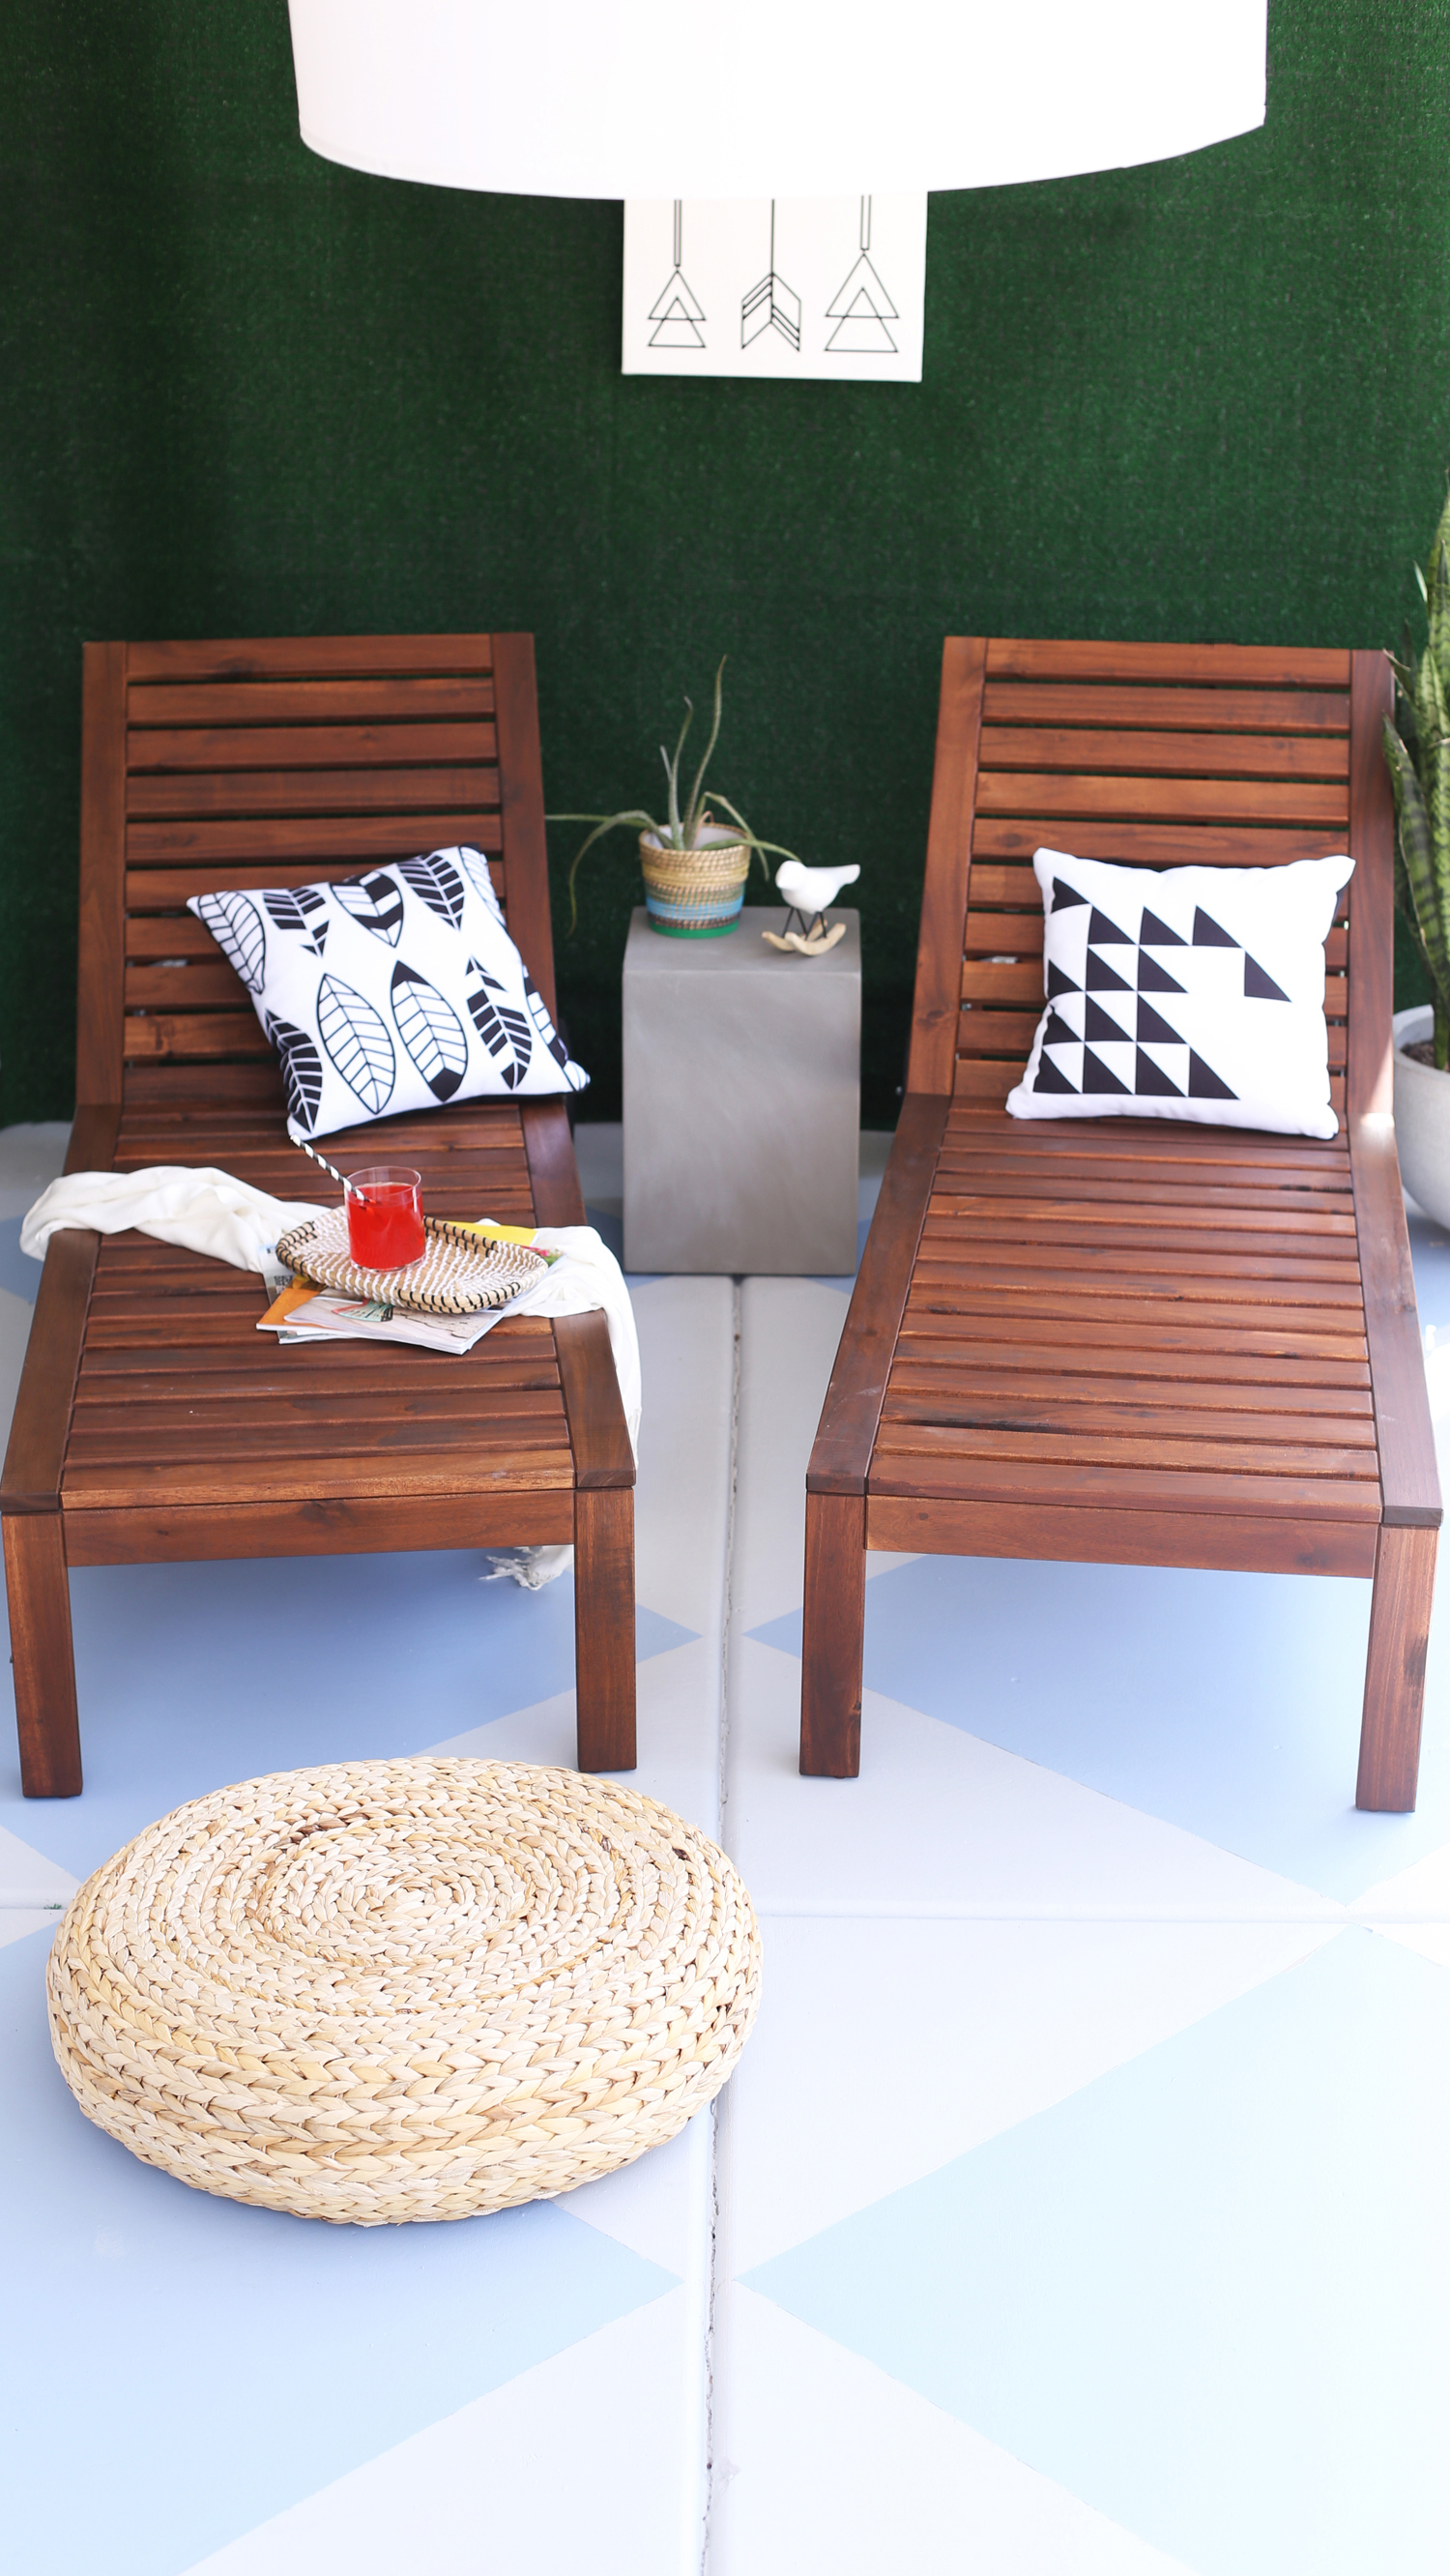
After
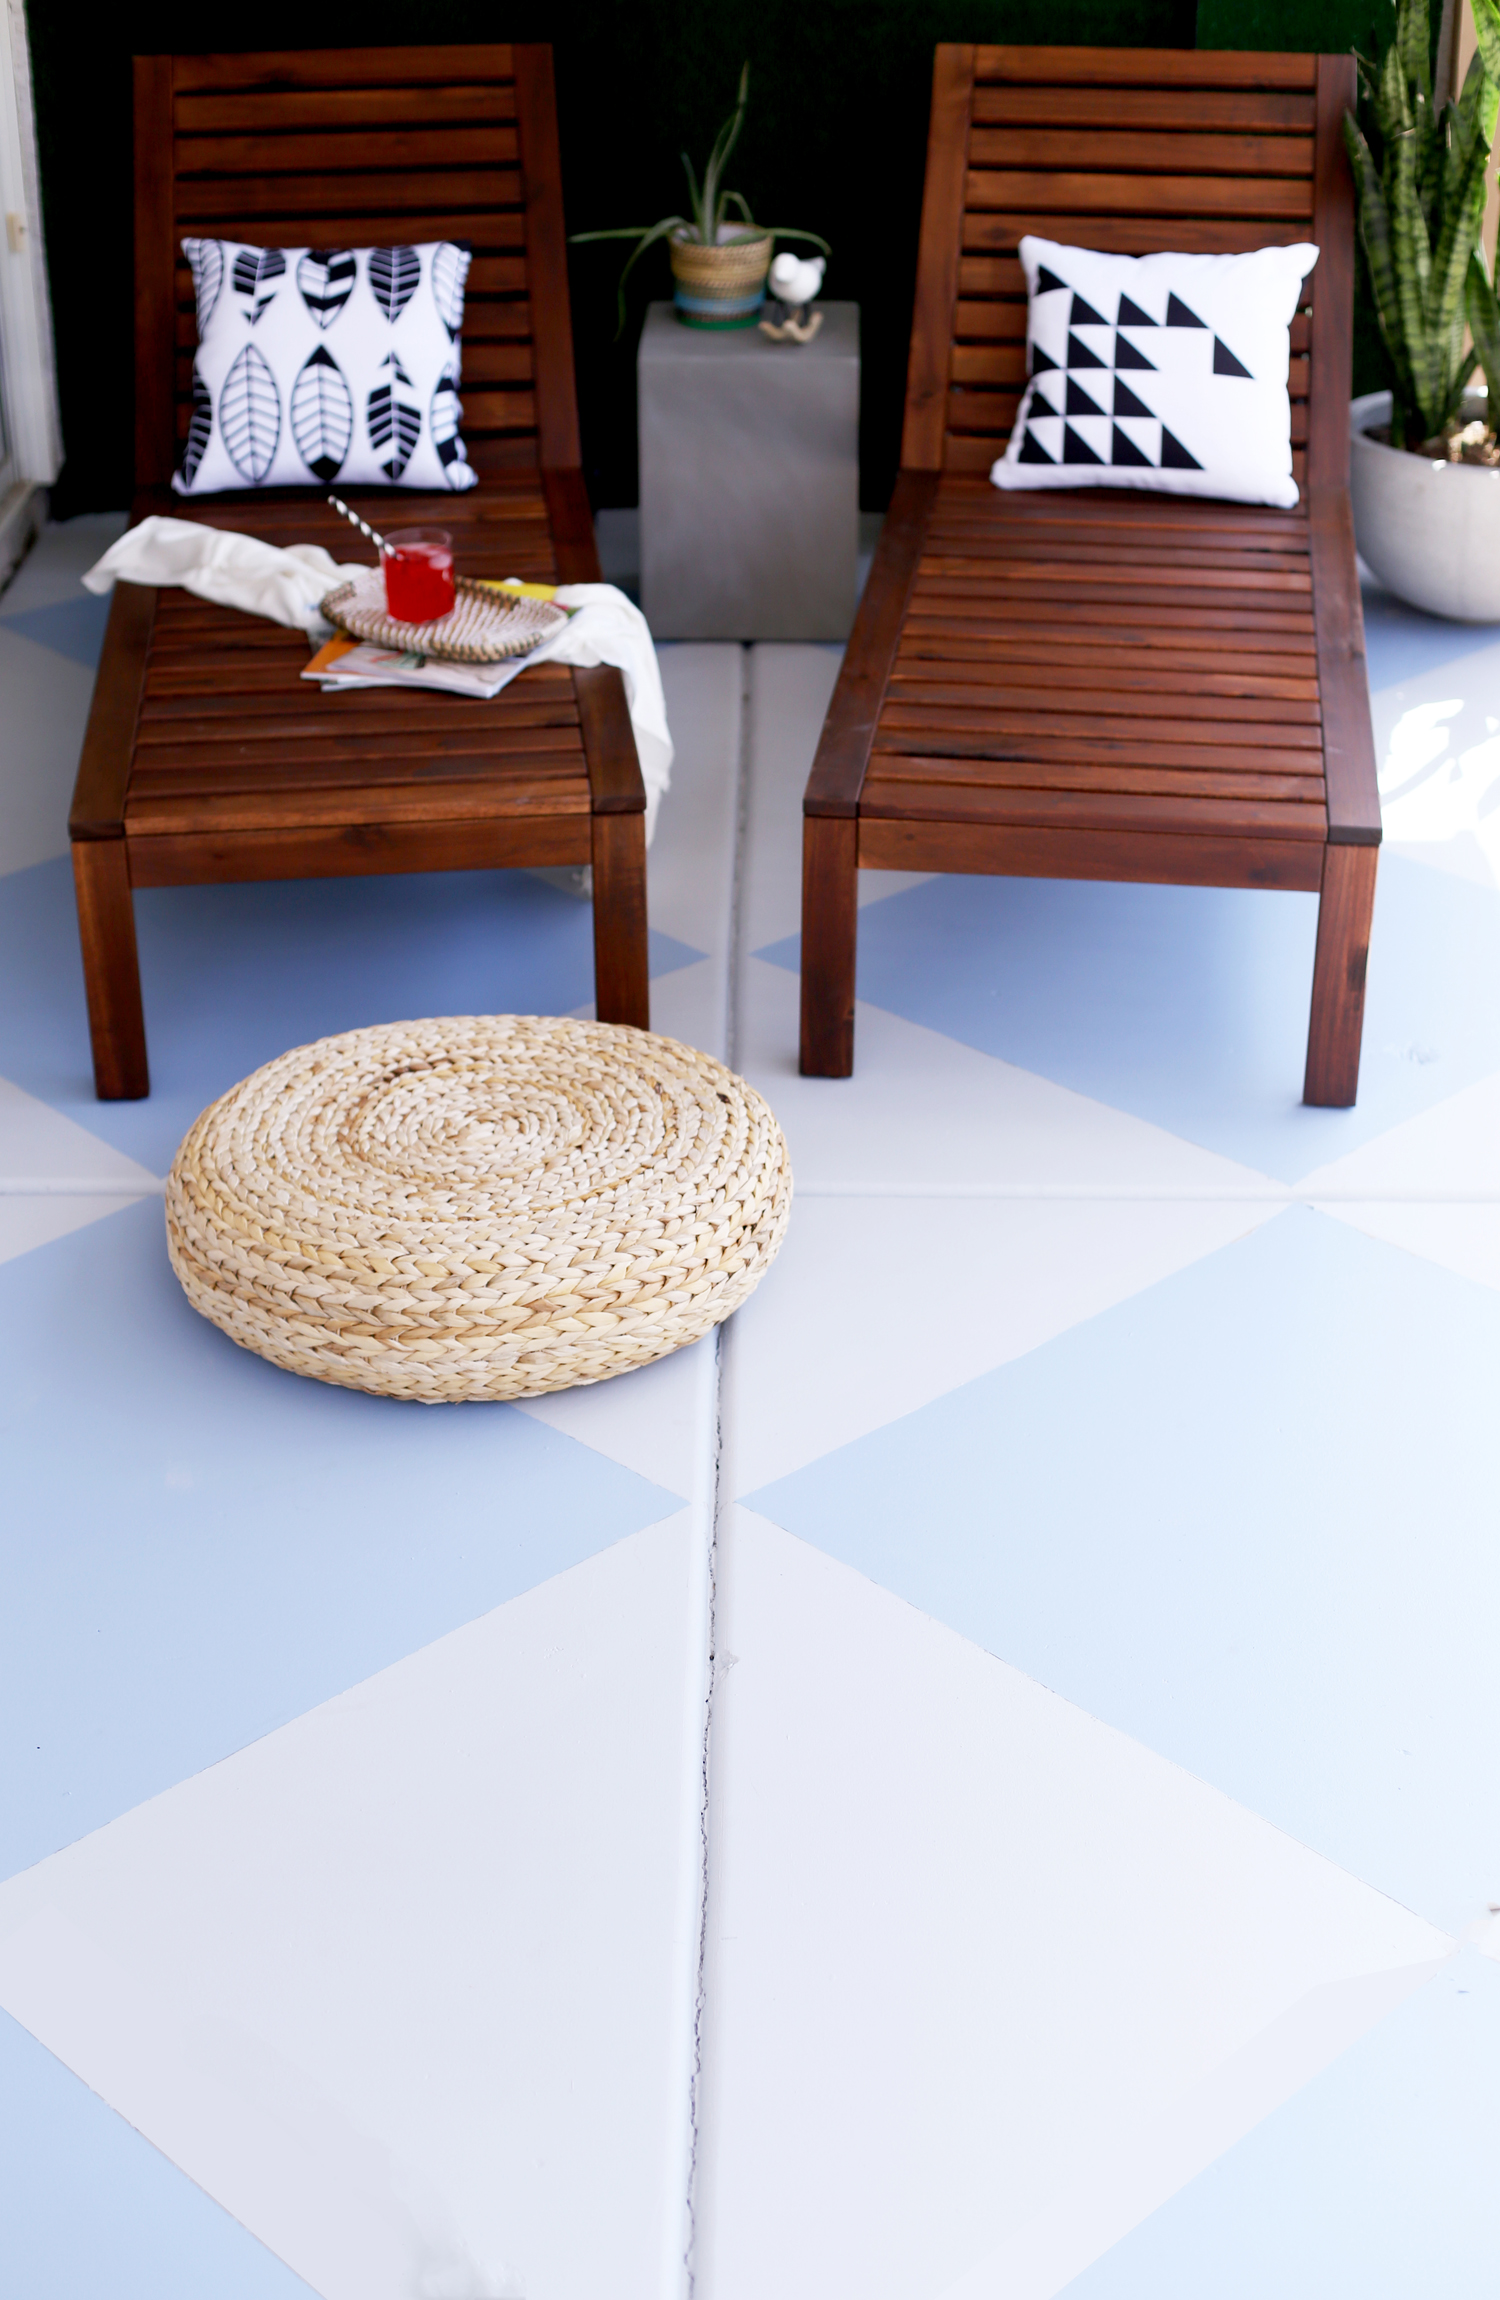
A lil' better don't ya think?!?! The diamond pattern floor gives the space so much character. It adds a much needed layer to the outdoor space and makes it feel more complete.

Materials Needed:
Broom
Bucket
Soap and water
Large sponge
Measuring tape
Light gray or white patio floor paint – this project used white
Dark gray patio floor paint
Paint roller with long handle
Paint brush and paint can opener
Paint tray and paint liners – this project used two liners
ScotchBlue™ Painter’s Tape for Exterior Surfaces

The key supply is the ScotchBlue™ Painter’s Tape. This stuff is magic. I use it ALL the time. It's available in a variety of widths (depending on the tape) from home centers, hardware and paint stores and mass retailers. Make sure to get the exterior tape as it's specifically designed for outdoor use that holds up to challenging weather conditions.
Note: Follow all ScotchBlue™ Painter’s Tape package instructions for proper surface cleaning and prep, adhesion and removal.
Step-by-Step Instructions:
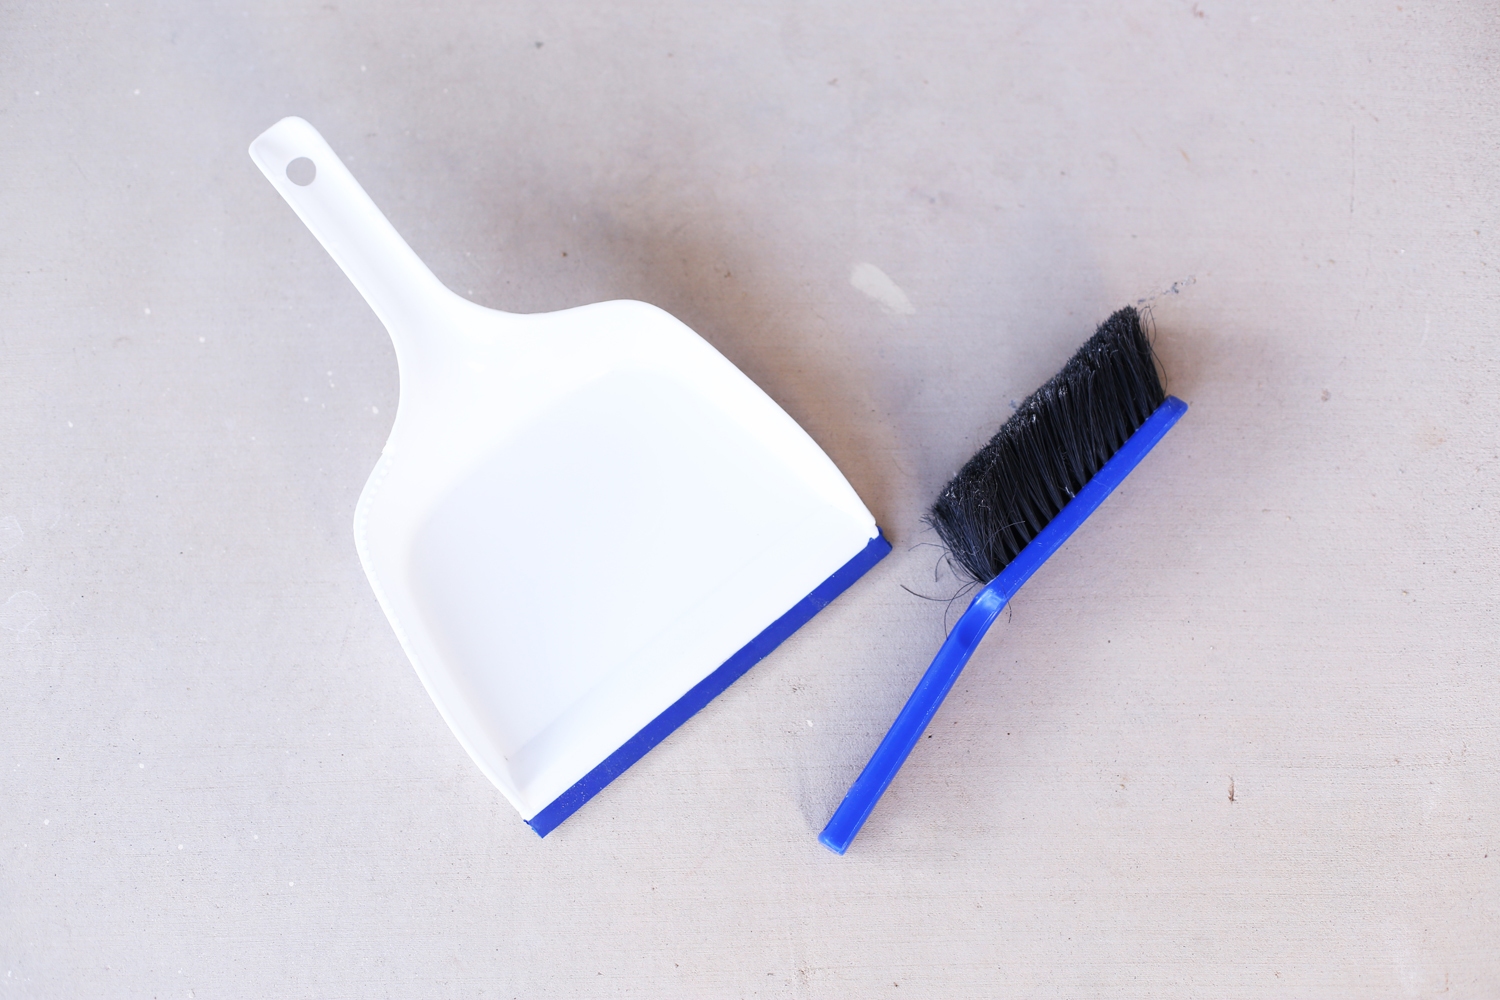
1. First, sweep the patio floor and either power wash or clean the floor with soap, water, and an extra large sponge. Allow to dry.

2. Prepare the patio by using the light gray or white paint as a base coat. First, use a paint brush to paint the perimeter of the patio and then fill in the paint using a paint roller. Allow paint to dry at least 7-14 days, following specific manufacturer’s instructions on the paint can.
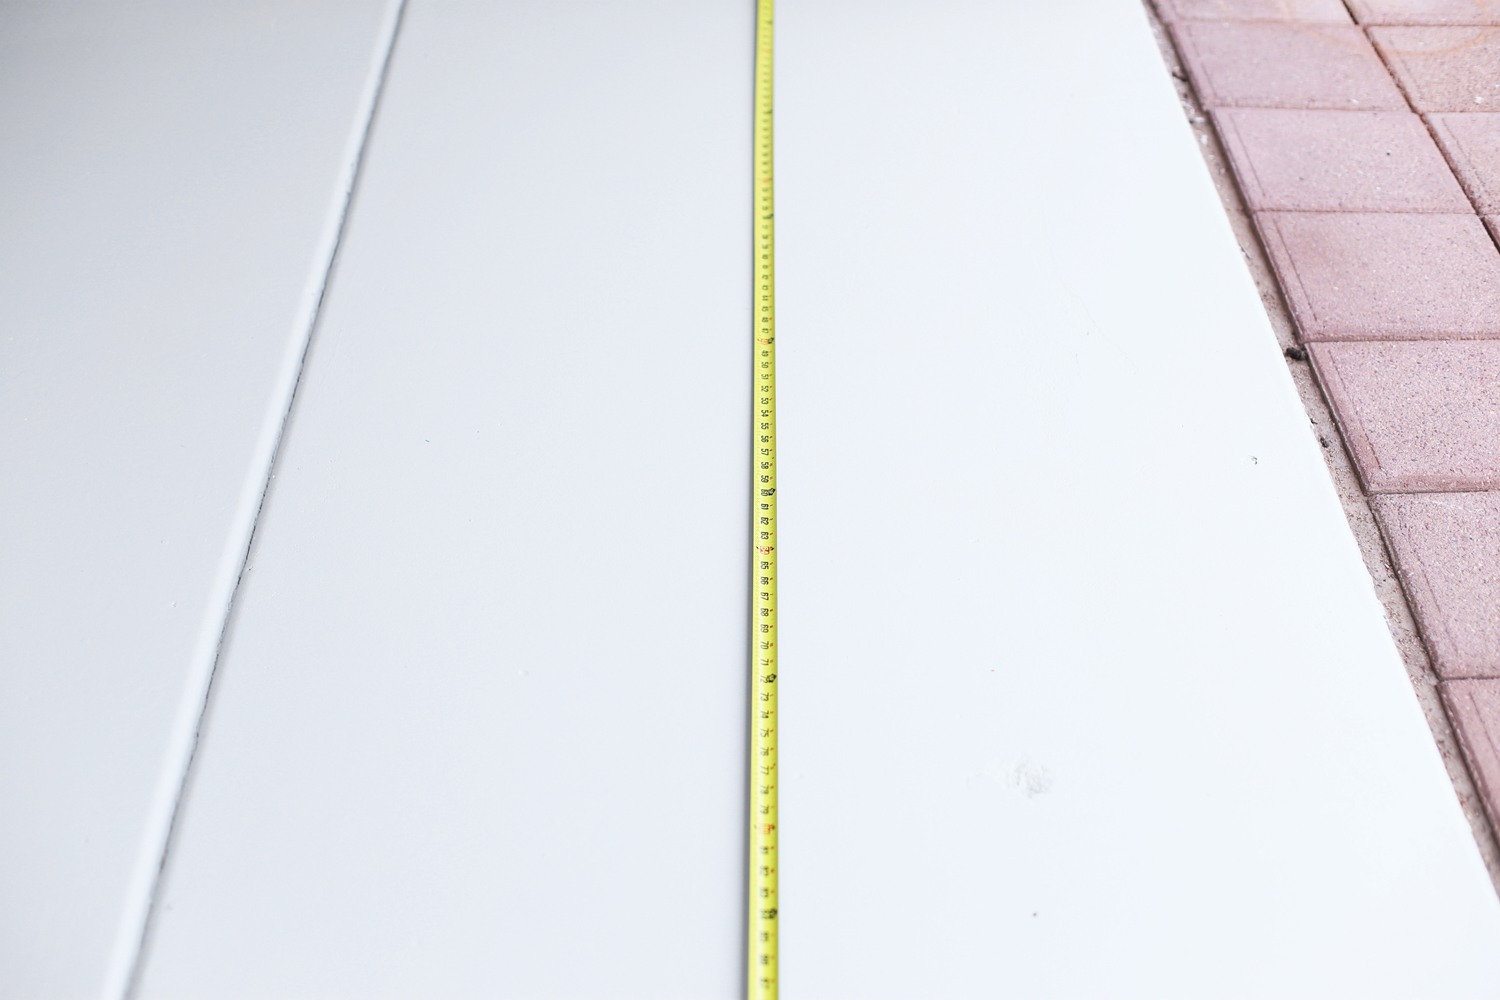
3. Using measuring tape, measure out the points of each diamond – this patio was split up into four equal sized areas of concrete. To create two diamonds within each area, mark the halfway point vertically and horizontally of each area – these will serve as the top and bottom points of each diamond. For the side points of each diamond, mark the halfway points between the vertical and horizontal halfway points of each end of the patio.

4. Connect the points of each diamond using ScotchBlue™ Painter’s Tape for Exterior Surfaces. Trim any points that overlap and mark each diamond you want to paint.

5. Paint the diamonds marked in step 4 with the darker gray paint and allow paint to dry, following manufacturer’s instructions on the paint can.

6. To reveal the painted pattern, remove each strip of tape from the floor by pulling the tape slowly and back onto itself at a 45 degree angle.

I just love our new floor! A funny lil' story for ya. I was actually in labor the entire day I was finishing up this project. We went to the hospital that night about about 10:00 pm to deliver our baby boy the next morning! It was actually a really great distraction from the painful contractions.

I have already started enjoying drinks on my new patio!

I accessorized with my DIY pillows ...

... this outdoor cement side table ...

... and this whicker ottoman.

What do you guys think of my update? I'd love to hear your thoughts in the comments below!
If you find this post helpful, I would love it if you subscribe below! Subscribers get an exclusive DIY every week and a free party printable collection just for signing up!


