


Help Me Decide Where to Put My Stikwood Wall Art


Option 1: Living Room Sitting Corner
Well you guys know I have a serious love for Stikwood . And if you don't know now you know. If you aren't familiar Stikwood is the creator of peel and stick wood planks. I love the story of how the company came to be. The founders, Jerry and Laura McCall, invented Stikwood in 2012 while they were on an anniversary trip along the California coast. They wanted to make a product that was simple to use and accessible to people without a construction background. Hence Stikwood was born! You might have seen Stikwood around my house, namely in my DIY herringbone wall and in my DIY barn door . These might be my two favorite projects on the blog. The thing I love about Stikwood is that the planks are real wood. You just can't get the quality look of real wood with laminate wood. So I'm back with another Stikwood gem today. Stikwood recently came out with art panels, and I couldn't wait to get my hands on them. But I need your help! Help me decide where I should put the panels! I have one of each of the art panels they offer:
And I set them up in different ways around the house. Which look do you like the best? Please let me know in the comments below!

I love the clean and monochromatic feel of the long rectangle panel here in the sitting corner of my living room. A little bit about the Stikwood art panels … each panel is handmade using the edging from their reclaimed wood boards! How cool is that? The square panels are 2 feet x 2 feet, and the rectangle panel is 2 feet x 4 feet. They come ready to hang either vertically or horizontally.

Option 2: Living Room Credenza
The second option is to put one of the square art panels on the credenza in my living room. I think this piece works well here because it’s imperfect and worn nature gives your eye a rest from the sharp and clean lines of the other objects on the table. I love that this piece isn’t perfect. There is something special about knowing that each art panel is unique and has a story to tell. Reclaimed wood is beautiful, but it is not an easy material to work with. It has to be sourced, deconstructed, cleaned, and crafted into something that can be used. Bravo to Stikwood for doing things not the easy way but the best way. The effort’s worth it because the natural character of reclaimed wood can’t be replicated in a factory.

Here is a vertical vantage point of the credenza. For reference, there is actually a TV that sits above this credenza.

And here is a close up of the square art panel on the credenza.

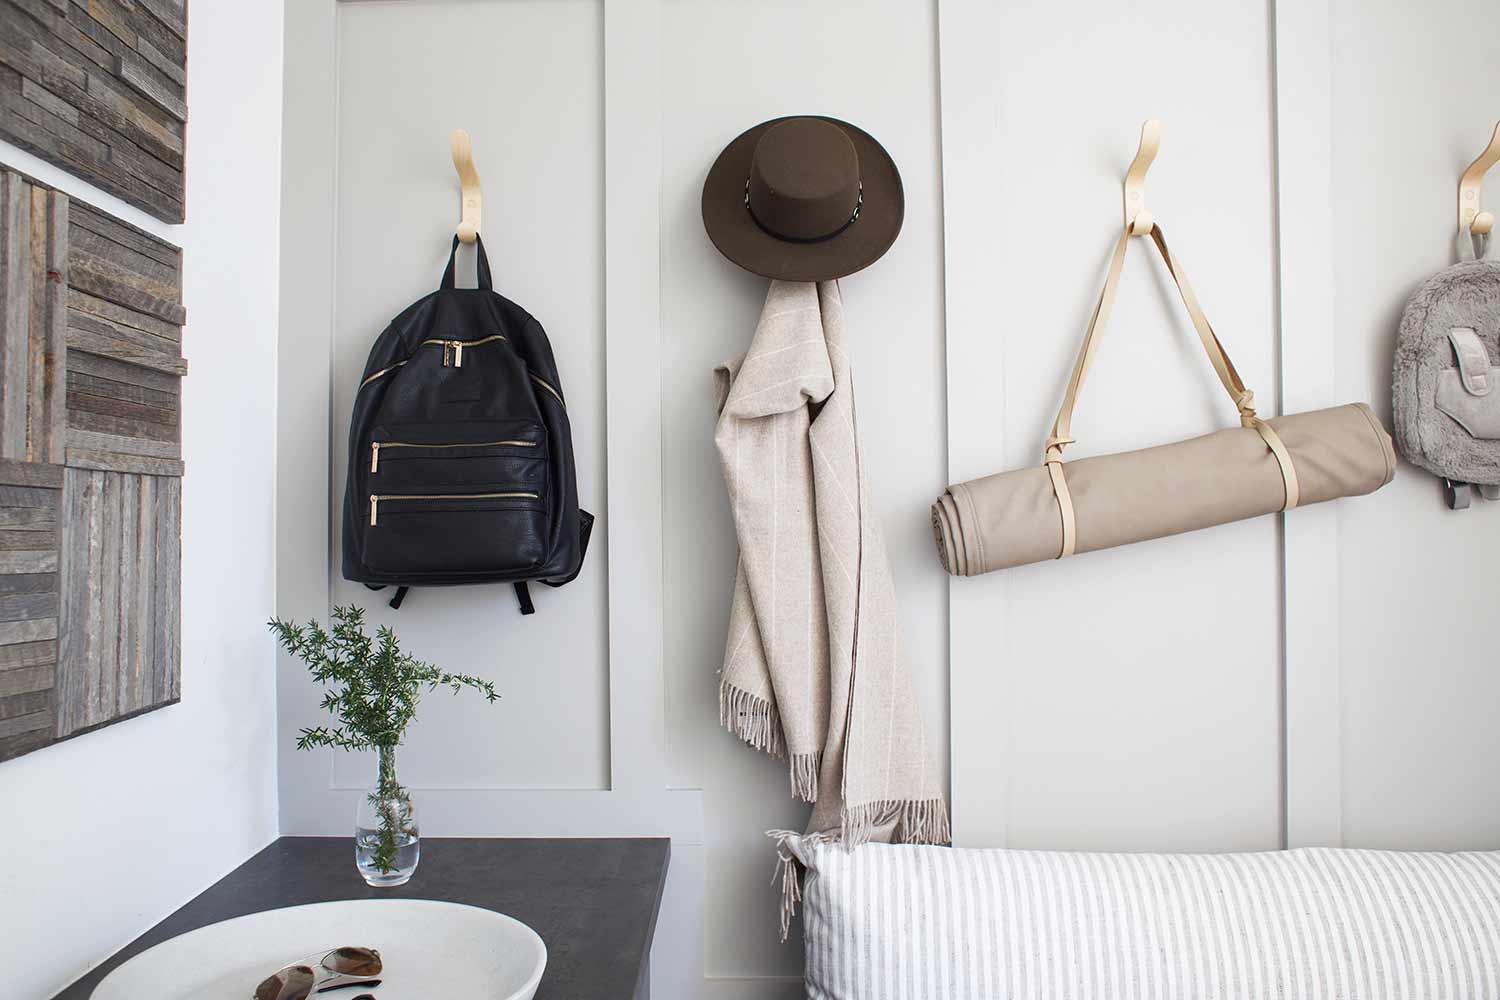
Option 3: Mudroom
The mudroom is one of my favorite rooms in the house. Unlike the other rooms, we are so very close to having it complete. It just needs a window shade (there is a window to the left of the art panels) and some art! So this is where you come in. What do you think of the square art panels in here? My husband loves them, but I’d love to know your thoughts? We used the pinwheel square panel and the one way square panel in here, but if you are considering the art panels, I think two of the same panels would work too.

Here is a front view of the panels.
And here is the view you see when you are walking into the mudroom from the garage. Side note: it’s not really a “mudroom” here in AZ. We never get rain nor snow, but a “mudroom” just sounds so cool right?

OPtion 4: Flynn’s Room
Option 4 is to put all three panels together above Flynn’s changing table/dresser. We should really take off the changing pad since he is potty trained. Just add it to the list of things we need to do. Haha! I like the art panels here, but I worry that combined with the wallpaper it’s a little too busy? What are your thoughts?

Here is a close up of the bottom two panels.

Option 5: Master Bedroom Credenza
The last and final option is to put the square one way art panel on the credenza in our master bedroom. What do you think?

For reference, there is a TV that sits above this credenza/media table. I love the bold look of this moment.

The love and care that goes into each one of these art panels is so apparent. If you are interested here are all of my Stikwood posts. So tell me … where should I put my Stikwood wall art?
Please let me know in the comments below which option you like the best!?
If you find this post helpful, I would love it if you subscribe below! Subscribers get exclusive DIYs and a free party printable collection just for signing up!


