


No Sew IKEA Hack Curtains

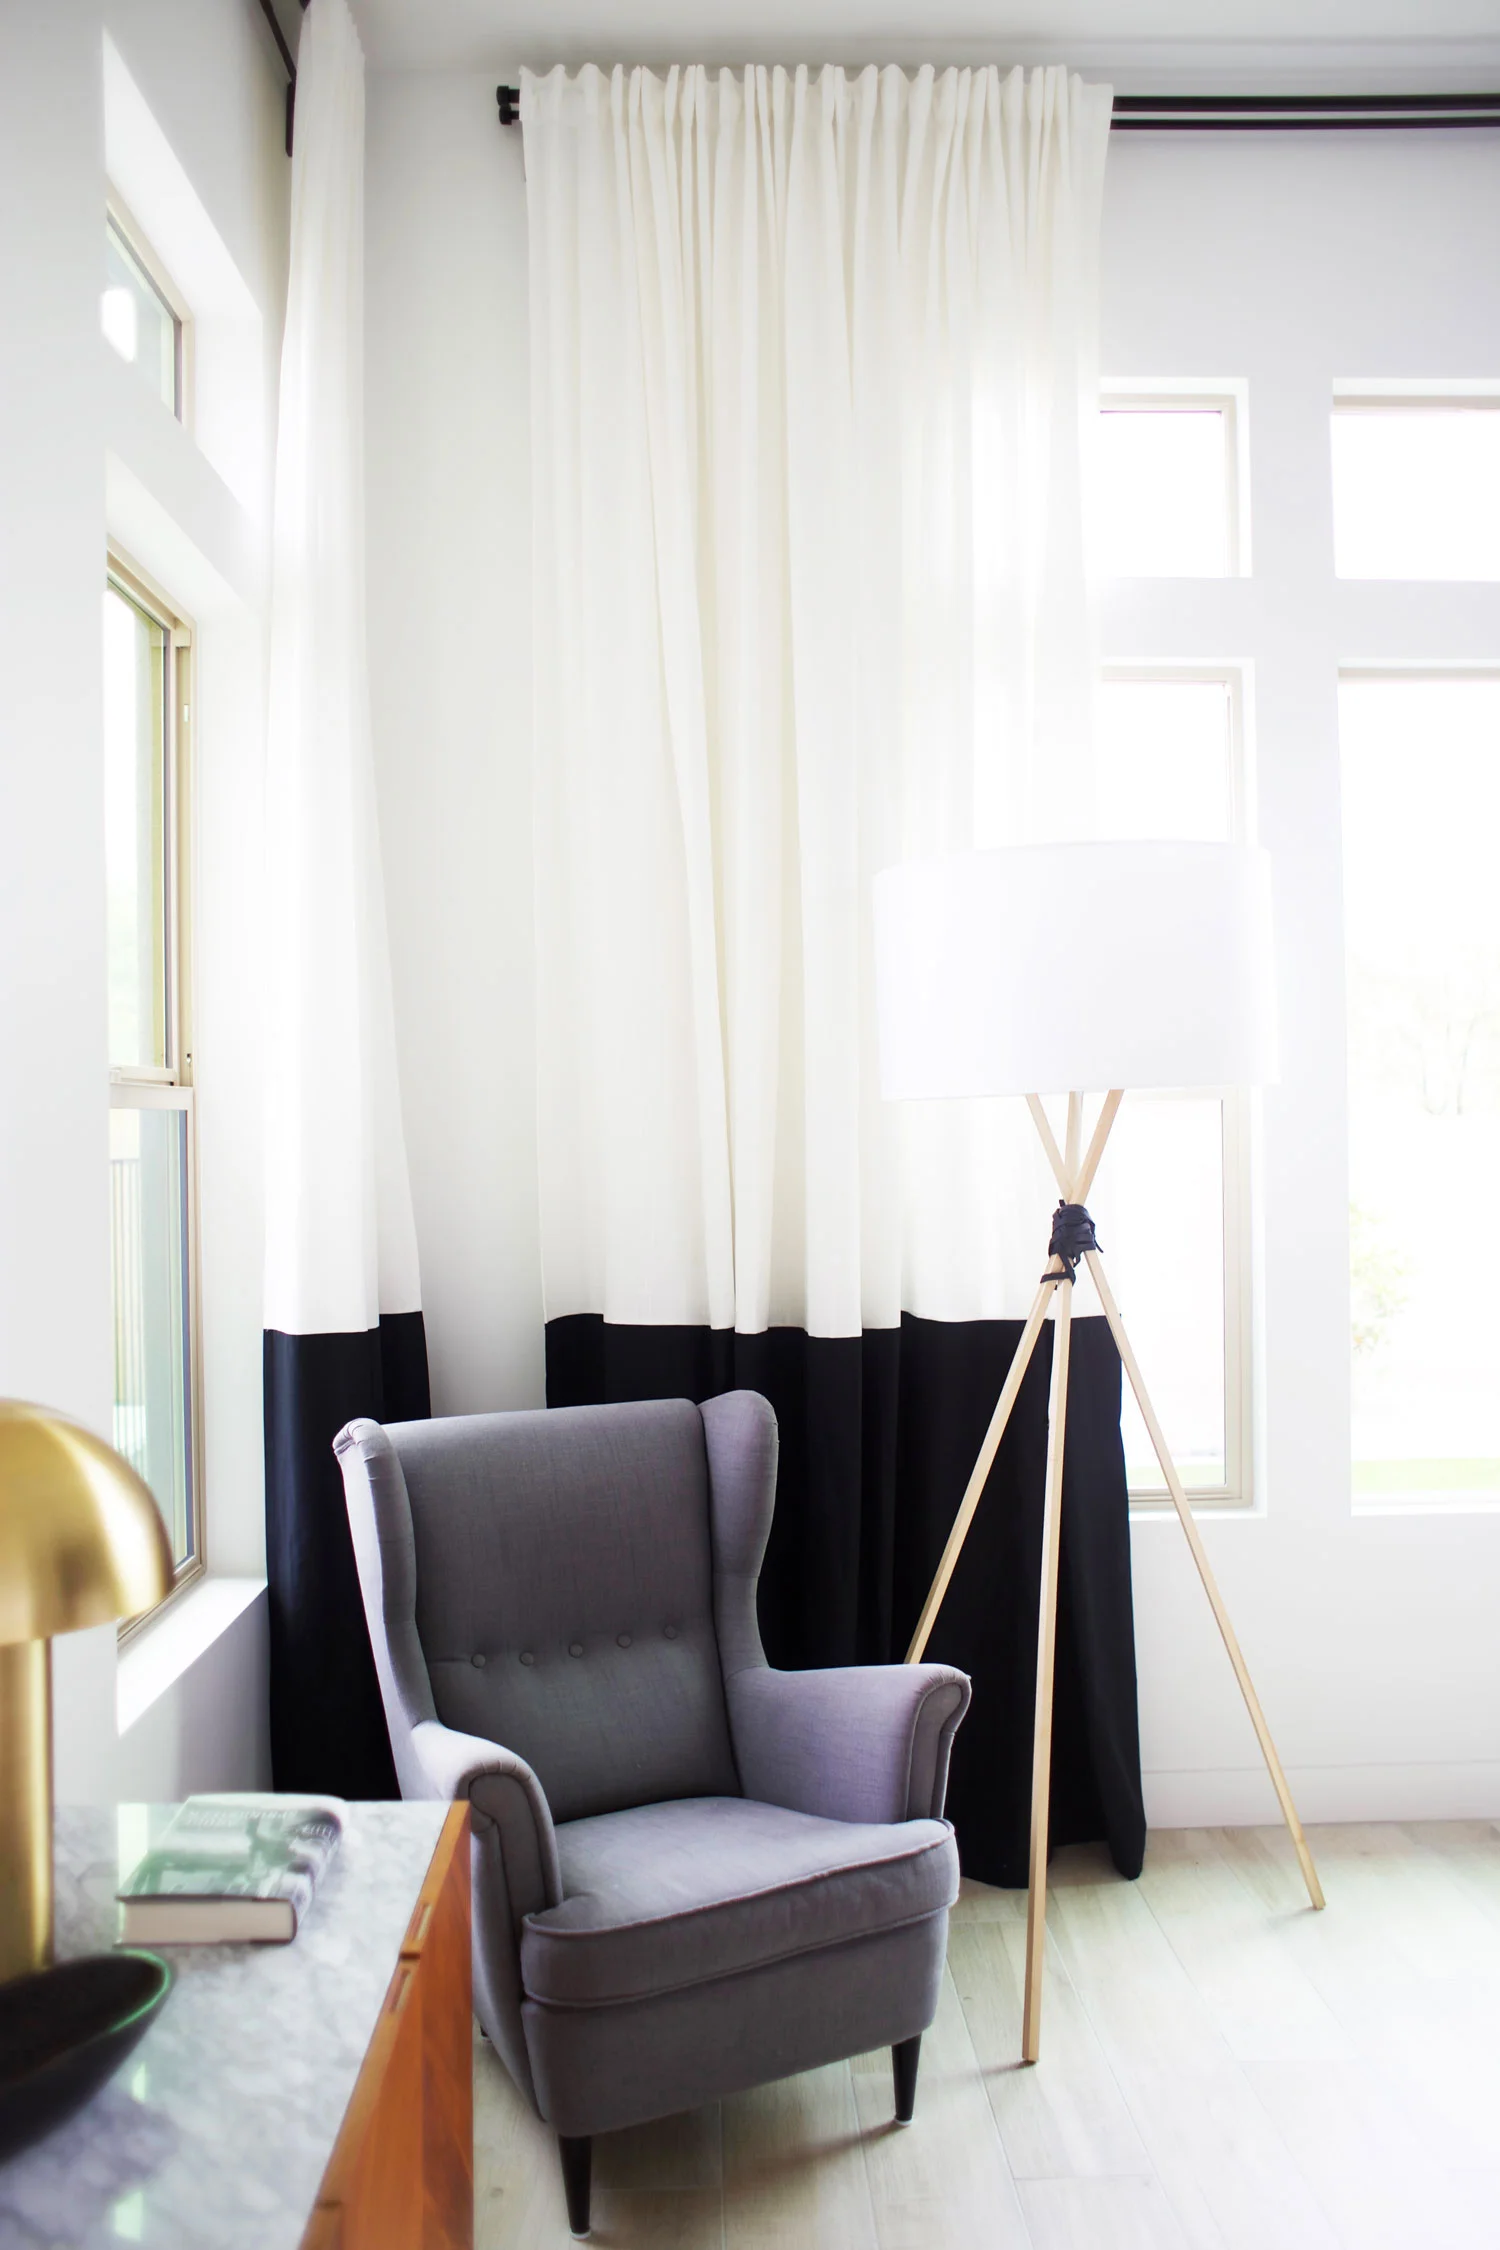
Today I'm sharing some IKEA hack curtains. Want some even better news? These are no sew. You can sew these if you'd like, but you can also do them as no sew if stitching isn't your thing. So here is how these came about. We have a huge window in our master bedroom at the new house. I'm definitely not complaining, as I love natural light. But I could not find ANY curtains that fit in width or length. Of course custom draperies were an option, but I didn't want to spend that kind of money. I looked for some oversized cheap curtains but couldn't find anything. So I decided to DIY curtains. I didn't want to hassle with making the tops of the curtains, so I decided to IKEA hack curtains. Y'all know I love me some IKEA hacks. These DIY color block curtains are so easy. You essentially just add fabric to the ends of each panel to make them longer. If you want the curtains extra wide, you fuse two to three panels together depending on how wide you need them.

These IKEA hack curtains are the perfect project for the non-crafty soul because they are no sew curtains. If you can use an iron and scissors, you will crush it. You can make these as long and as wide as you want them. Below are the supplies you will need to get started on the IKEA hack curtains.
SUPPLIES

INSTRUCTIONS
Measure
Okay here are the instructions to make your own curtains. First, start by measuring how long and how wide you want your curtains. A good rule of thumb is to make the curtains 1.5 times the width of your window, so you still have some folds in the fabric when the curtains are closed. Regarding length, I like to hang my curtains higher than the top of the window. For my master bedroom which has 12' ceilings, I hung the IKEA hack curtains 4" below the ceiling. In my opinion, hanging curtains higher than the window draws your eye up and really shows off the height of your ceiling.
How much black fabric do you need?
For this tutorial, let's first work with one panel. If you need extra wide curtain panels please see the note at the bottom of these instructions. So how much of the black fabric do you need? The IKEA fabric is somewhat thin. I doubled it up, but alternatively, you can purchase thicker black fabric and skip the next step. To leave room for "seams," you will need the black fabric to be two inches wider than the curtain on each side. For example, if you are using the Ritva curtains, each panel measures 57" wide. So you will need to cut the black fabric to 61 inches. So that is about 1.75 yards, and if you double up the fabric, you will need twice that per panel. And you need two panels per window, so you will need a total of about 7 yards of the black fabric.
Double up the black fabric
If you are doubling up the fabric, start by cutting two pieces of black fabric to 61 inches. Fuse the top and sides together according to the fusible fabric tape instructions.
Fuse the black fabric to the bottom of the white curtain panel
First, create a top "seam" for the black fabric. To do this fold down the top edge of the black fabric one inch and iron. Place a piece of fabric tape under the fold and fuse. Next, center the black fabric on top of the curtain bottom, so that two inches of fabric are hanging off each side. Fuse the black fabric to the curtain using the fabric tape. Next create "seams" for the right and left sides of the black fabric. On each side, fold the fabric in one inch, place a piece of fabric tape under the fold and fuse. Fold the fabric over one more time so the edge lines up with the panel and iron. Place a piece of fabric tape under the fold and fuse again. Doubling up the "seams" makes it so you don't see any unfinished edges on the backside of the curtains.
Hang the curtain panel and measure where it hits the floor
Next, hang the curtain panel and mark where it hits the floor with chalk. I made the mistake of measuring before I hung the curtains last time, and that did not work. Contrary to what you might think, walls and ceilings are not perfectly square. Measuring the curtain panel while its hanging ensures the length will line up perfectly with the floor. If you want a one inch seam at the bottom of the IKEA hack curtains, add two inches to the floor mark and trim the fabric. If you want a two inch seam at the bottom of the curtains, add four inches to your floor mark and trim the fabric. Fuse the final edge of the two pieces of black fabric together using the fabric tape. Fold under the black fabric to the floor mark and iron. Place a piece of fabric fusing tape under the fold and fuse. Fold the fabric over one more time and iron. Place a piece of fabric tape under the fold and fuse again. Voila! You are done with one panel.
Repeat with the second panel and hang
Repeat the above steps for the second curtain panel, hang, and admire your work.
Note for an extra wide window
If you have an extra wide window that requires more than one curtain panel on each side, first fuse the curtain panels together. Then measure the amount of black fabric you will need according to the steps above. Finally, fuse the black fabric to the curtain according to the steps above and follow the remaining steps.

See it's not as difficult as you might think to make your own curtains. I love the way these DIY curtains turned out. I hope you like them as much as I do. BTW this post serves as a sneak peek of my master bedroom room reveal I will be sharing soon. I can't wait to show you! I have shared a nursery progress post before, but this will be my first full room reveal. I'm hoping to do many more!
If you find this post helpful, I would love it if you subscribe below! Subscribers get exclusive DIYs and a free party printable collection just for signing up!


